Before You Choose a Machine

Test Your Jewelry Application Before Choosing a Laser Welder

A datasheet cannot tell you whether a machine handles the work your bench actually sees. Send the job — as photos, as a sample, or over a live video call — and we will weld it on the model we would recommend for you, then show you the result and the reasoning.

Your own application, welded on a real machine — not a showroom demo
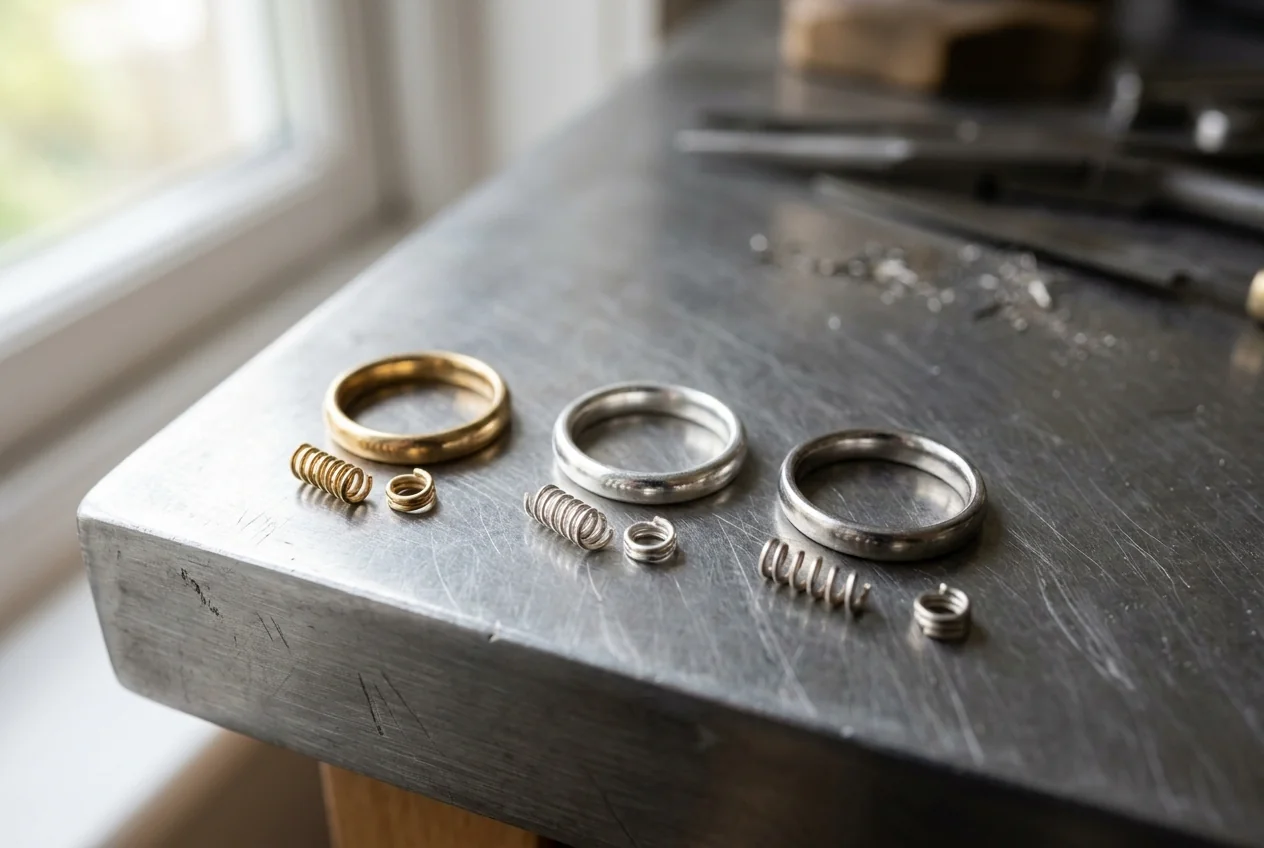
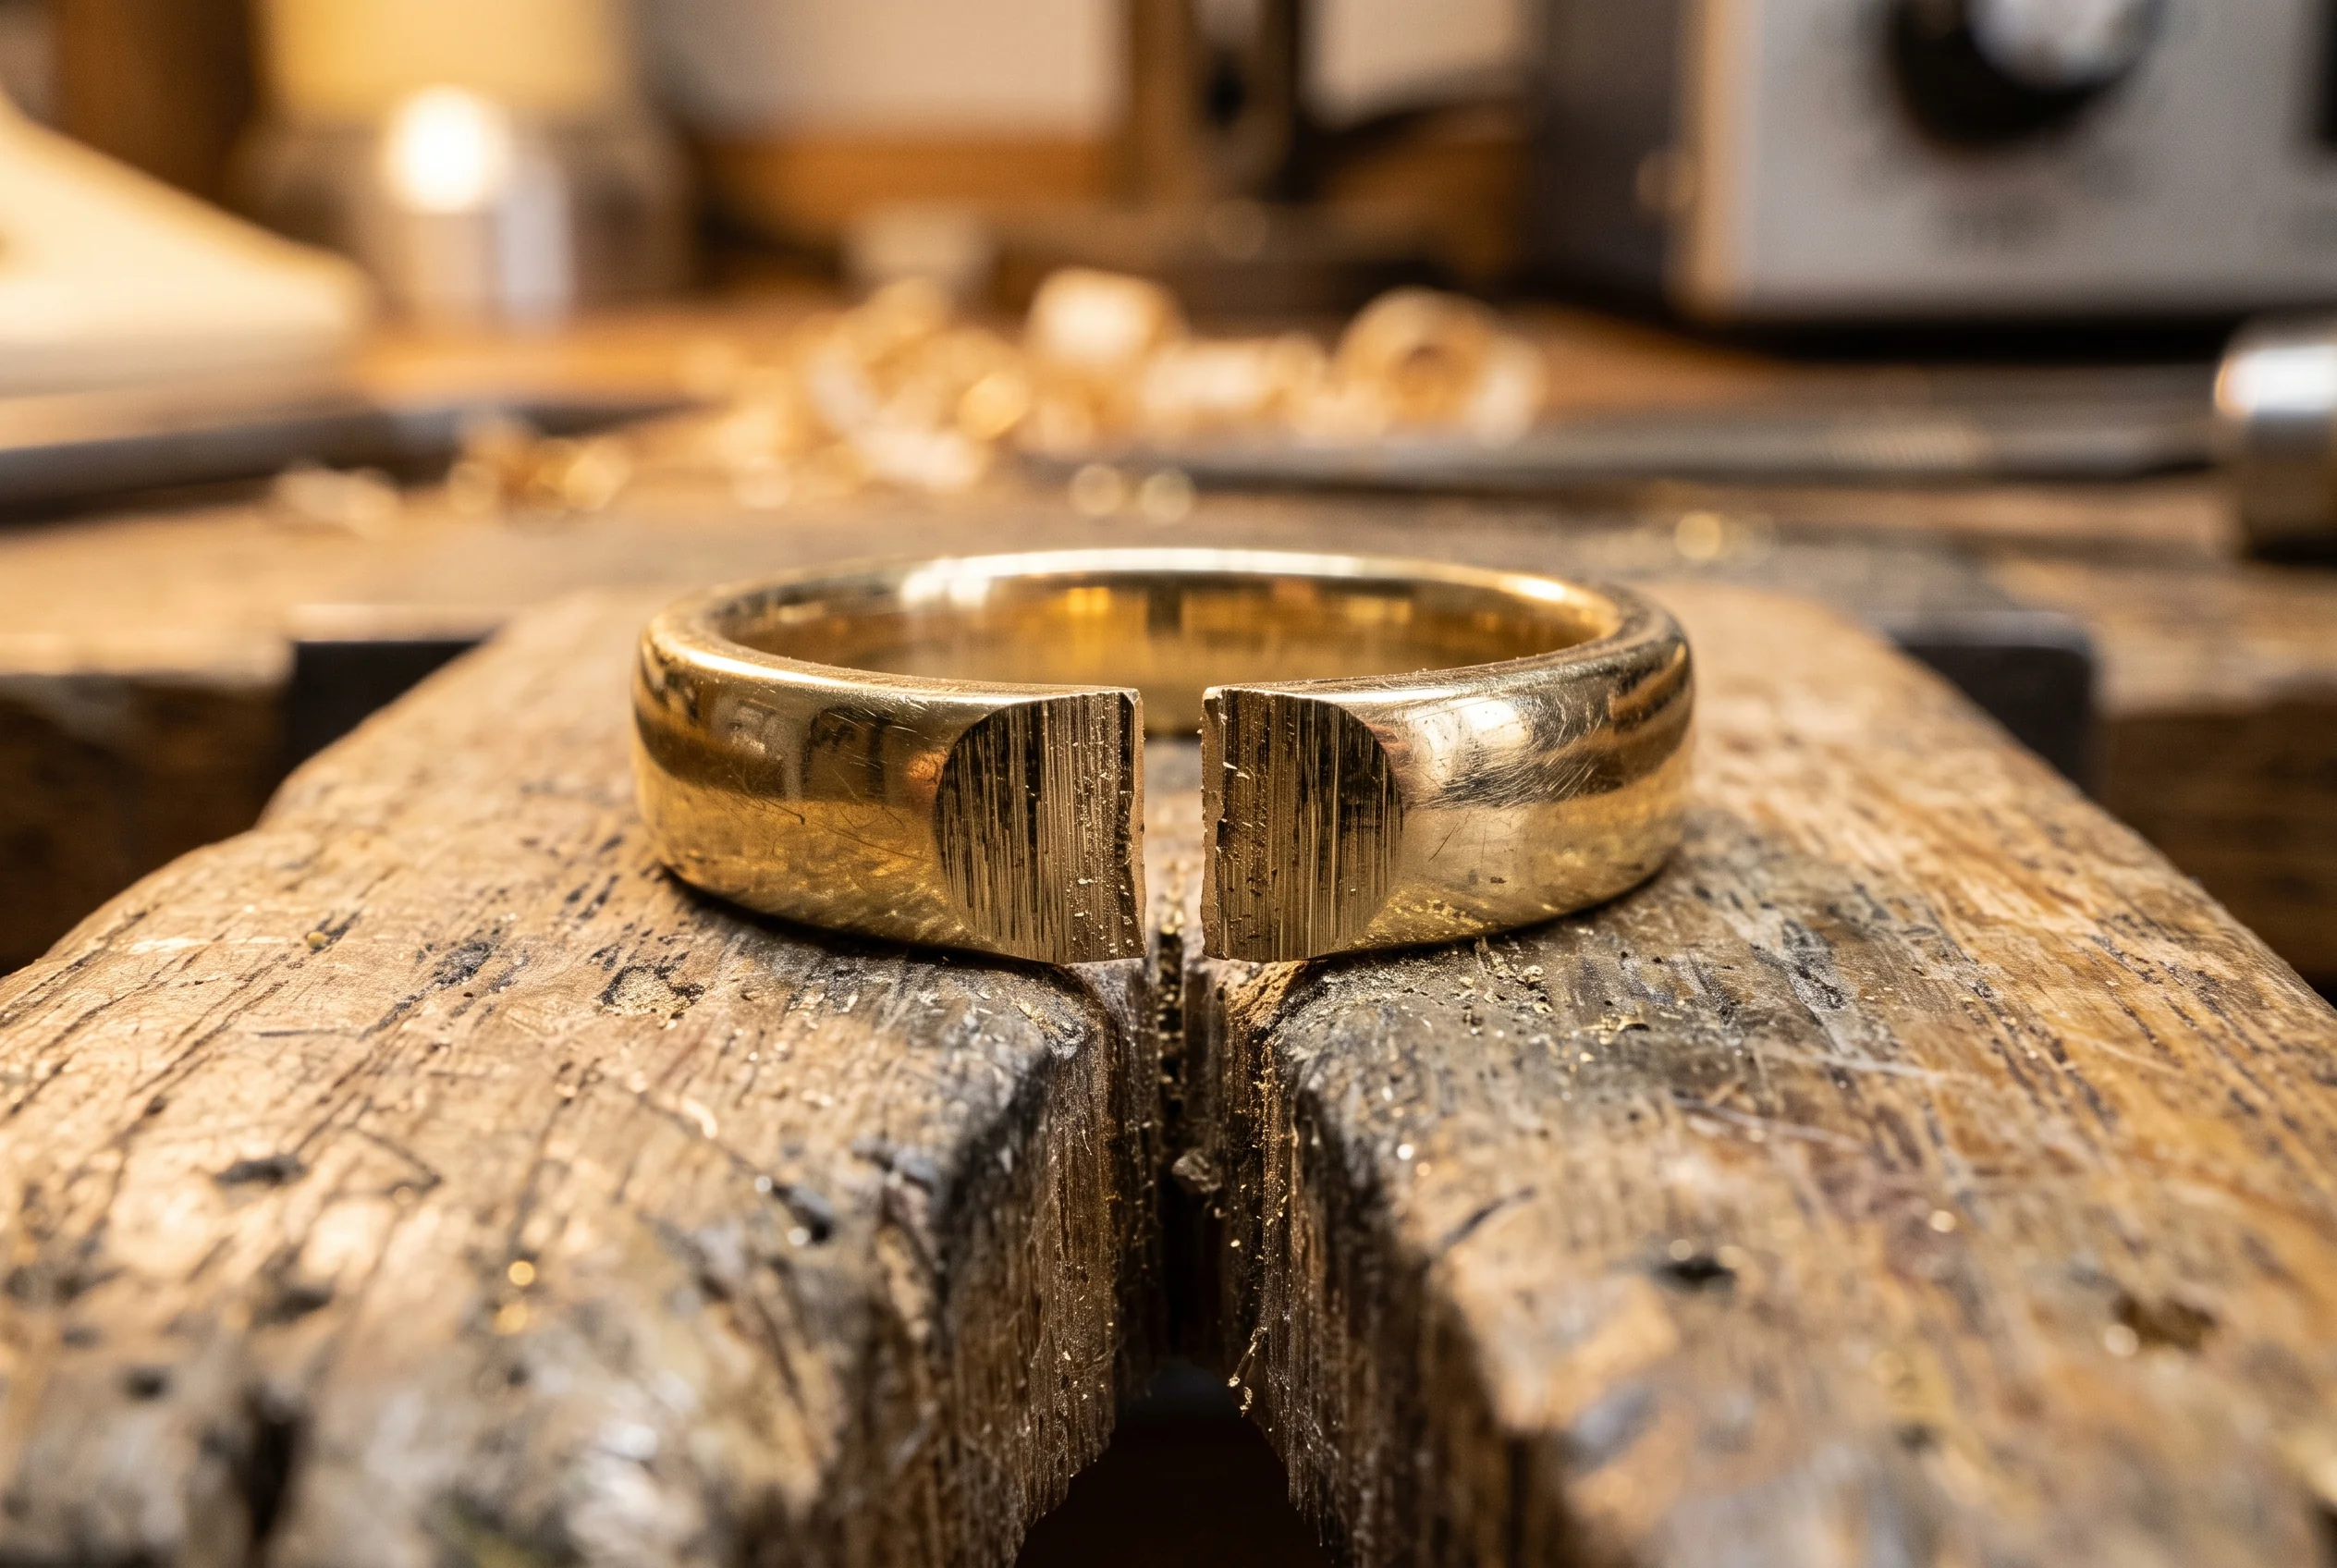
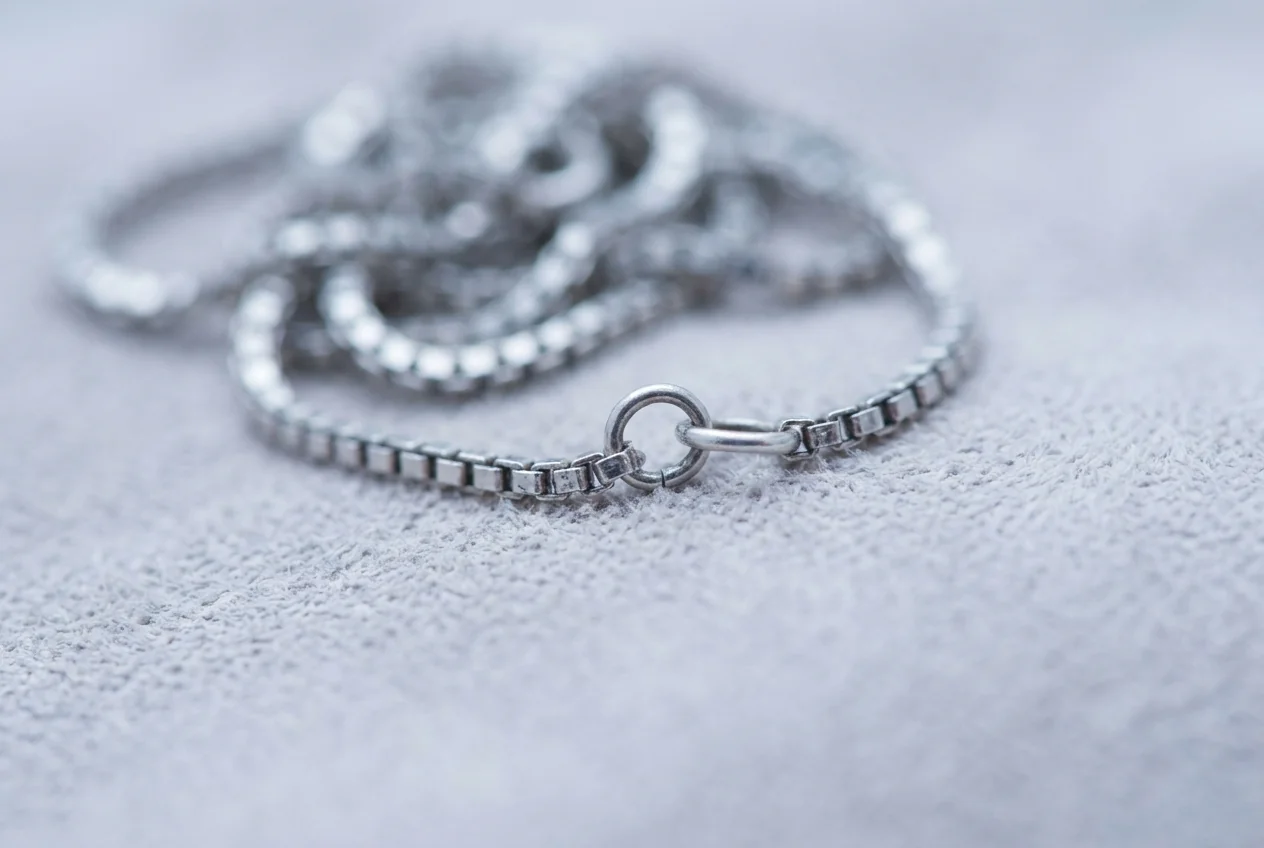
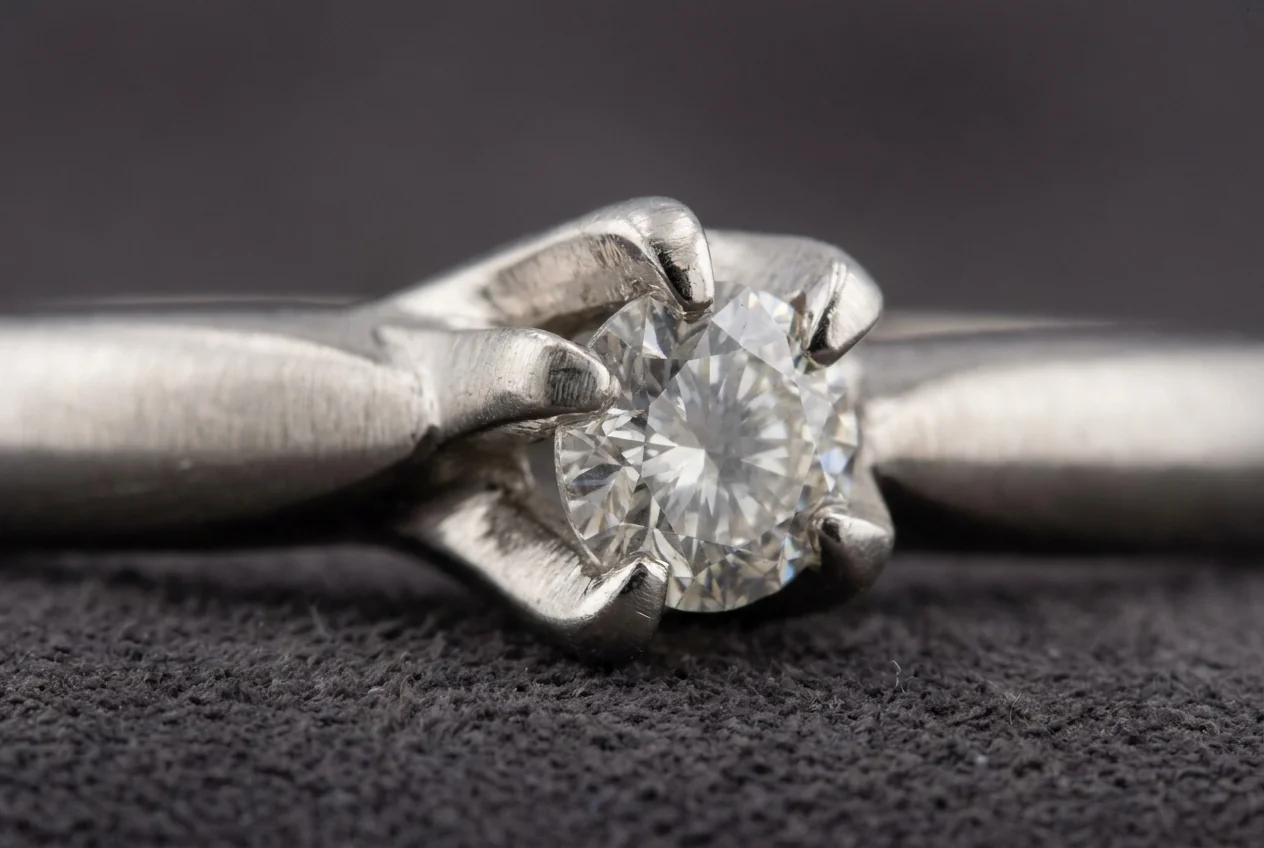
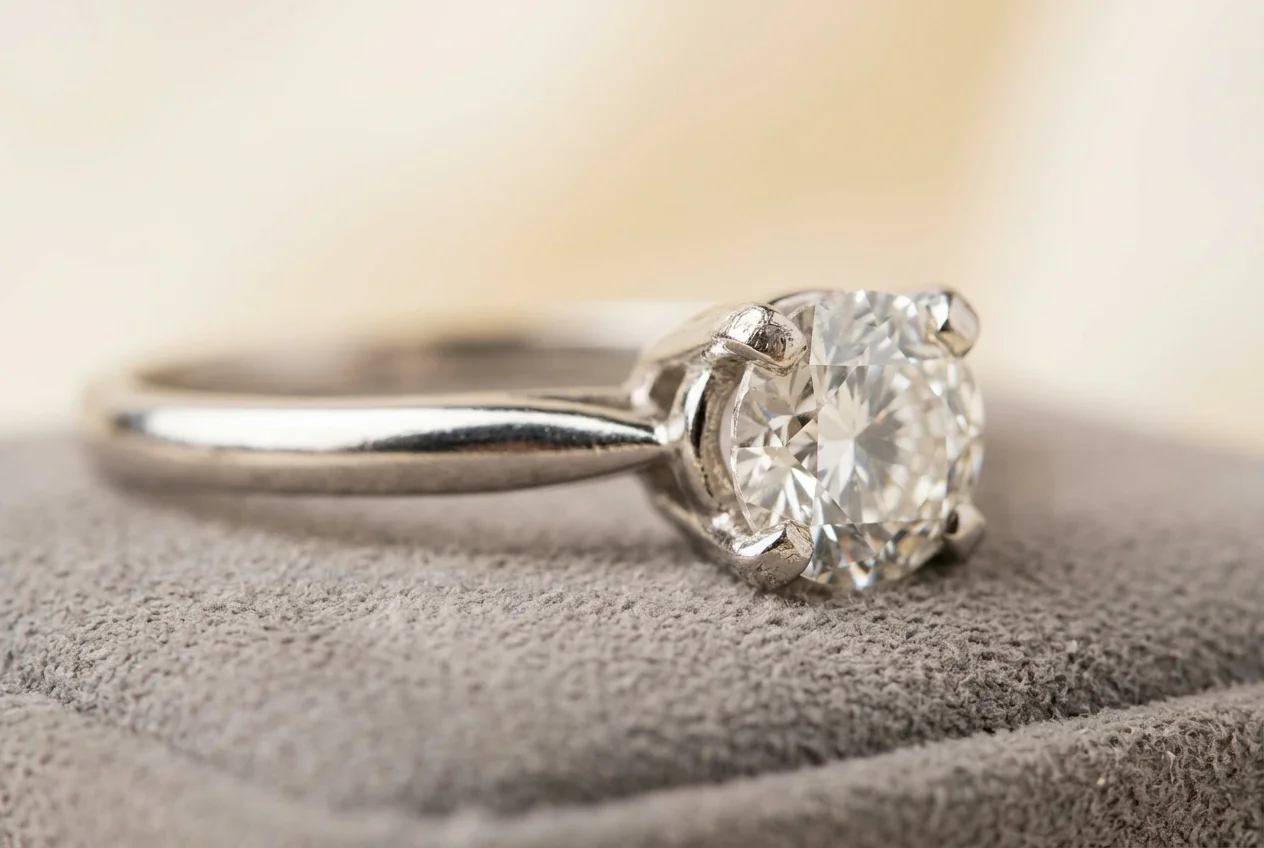
Gold, silver and platinum test rings with matching filler wire offcuts on a jeweller's bench

Your piece

Welded on the model we would recommend

Three ways

Photos, sample or live video

Your own job

Not a prepared demo piece

Model named

With the reason it fits

No obligation

The test does not commit you

Choose Your Test Method

Three routes, depending on how far along the decision is and whether the piece can leave your bench.

Fastest

Photo Review

Nothing leaves your shop. Good for narrowing a shortlist before you commit to sending anything.

  • You send: close-up photos of the joint, the alloy and the piece
  • You get back: an assessment of whether it is a laser job and which controls it leans on
  • Best when: you want a read on feasibility, not a finished weld
Interactive

Live Video Demo

Watch the weld happen and ask about the settings while the operator is on the machine.

  • You send: a description of the job and a time that suits you
  • You get back: a live view of the joint plus the parameters used
  • Best when: your questions are about operation as much as output

What Applications Can We Test?

Bring the job you send out most often. Each of these links to the page that covers it in full.

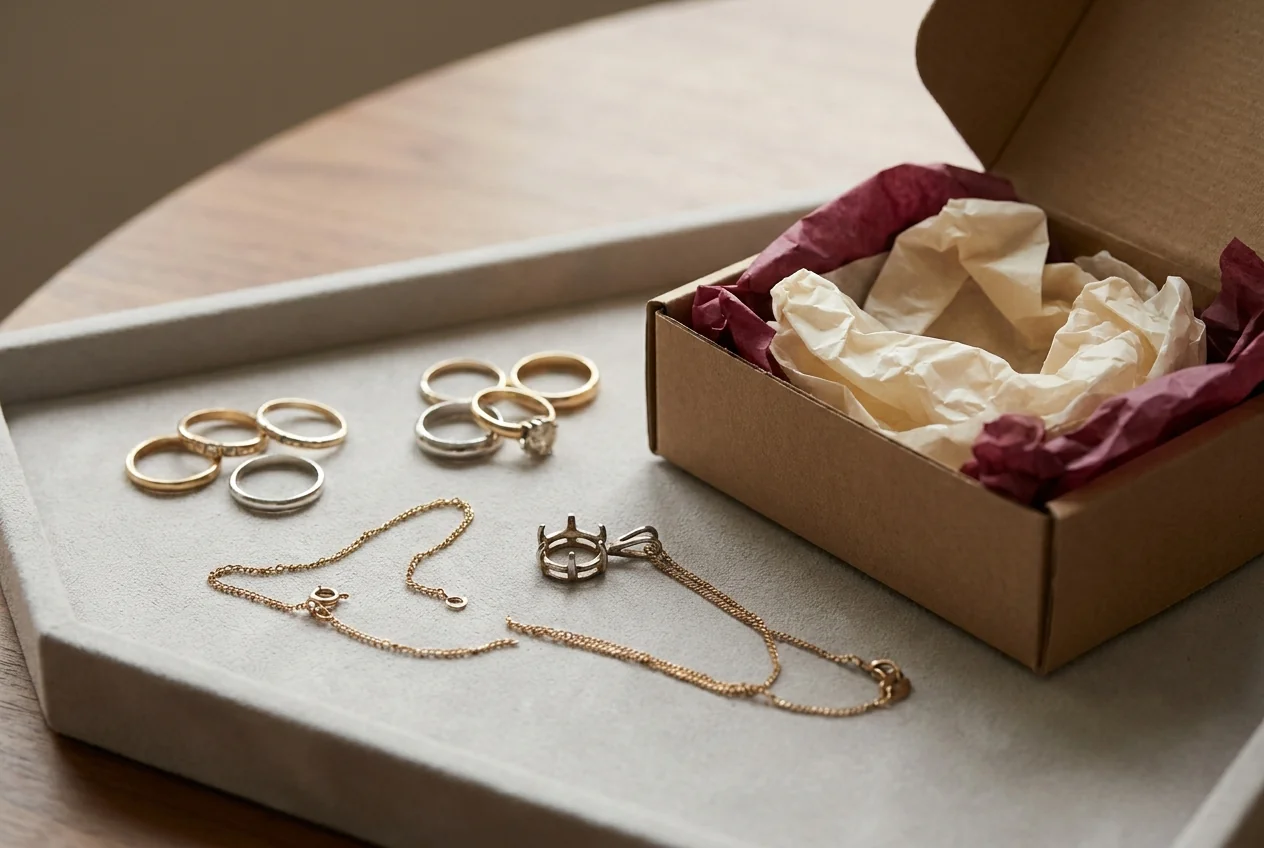
Jewellery packed in a small box ready to send for a test weld

What You Will Receive

The test result, in plain terms

Whether the joint welded cleanly, where it was marginal, and what we would change on a second attempt.

Before, weld area and after views

The same three views on every job, so you are judging the finish rather than a marketing photograph.

An application assessment

Which controls your work leans on — spot size, pulse width, low-energy steadiness, optics, filler handling.

A named model, with the reason

One recommendation from the four in the range, and why it rather than the one above or below it.

Consumables the job needs

Filler wire, shielding gas and electrodes that go with the work, so the running cost is not a surprise.

A quotation, if you want one

Asked for, not attached automatically. The test result stands on its own if you are still comparing.

How the Test Works

Four steps. Step two is where everything about cost, shipping, size and timing is agreed — before anything is sent.

1
Submit

Tell us the alloy, the repair and how much of it your bench sees in a month. Photos help at this stage.

2
Confirm

We come back with what we can test, how to send it, who covers what, and how long it should take. Nothing moves until this is settled.

3
Test

We weld the job on the model we would recommend, and record the before, weld area and after views.

4
Recommendation

You get the result, the assessment and a named model — and the piece back if you sent one.

What Makes a Good Test Sample?

A useful sample looks like the work you actually do. These are technical guidelines — the specifics for your request are settled at the confirm step.

Usually suitable

  • Scrap in your working alloy — 10K–22K gold in yellow, white or rose; 925 sterling, fine silver or Argentium; Pt950/Ru, Pt950/Co or Pt900/Ir
  • A failed piece you would otherwise scrap — a cracked shank, a worn claw, a porous casting
  • Sections at your real thickness — a thin chain link tells us more than a heavy offcut does
  • The joint you actually struggle with — the one you currently send out
  • Palladium, titanium or stainless — welded on this range too; titanium wants shielding gas at the joint

Confirm with us first

  • Anything with stones still set — the stone, its treatment and its distance from the joint all go into that decision
  • Pieces with sentimental or high monetary value — send a scrap piece in the same alloy instead where you can
  • Earlier repairs with unknown solder — old lead-bearing solder in a joint behaves nothing like the parent metal
  • Plated base metal or costume pieces — the plating and the substrate react differently
  • Aluminium and other metals outside the list — ask before sending rather than after

Example Test Results

What a completed test looks like, on three different metals. Sample → test area → result → the model it points to.

18K yellow gold

A sized shank, closed with matched filler

SampleGold ring shank cut open on a bench block
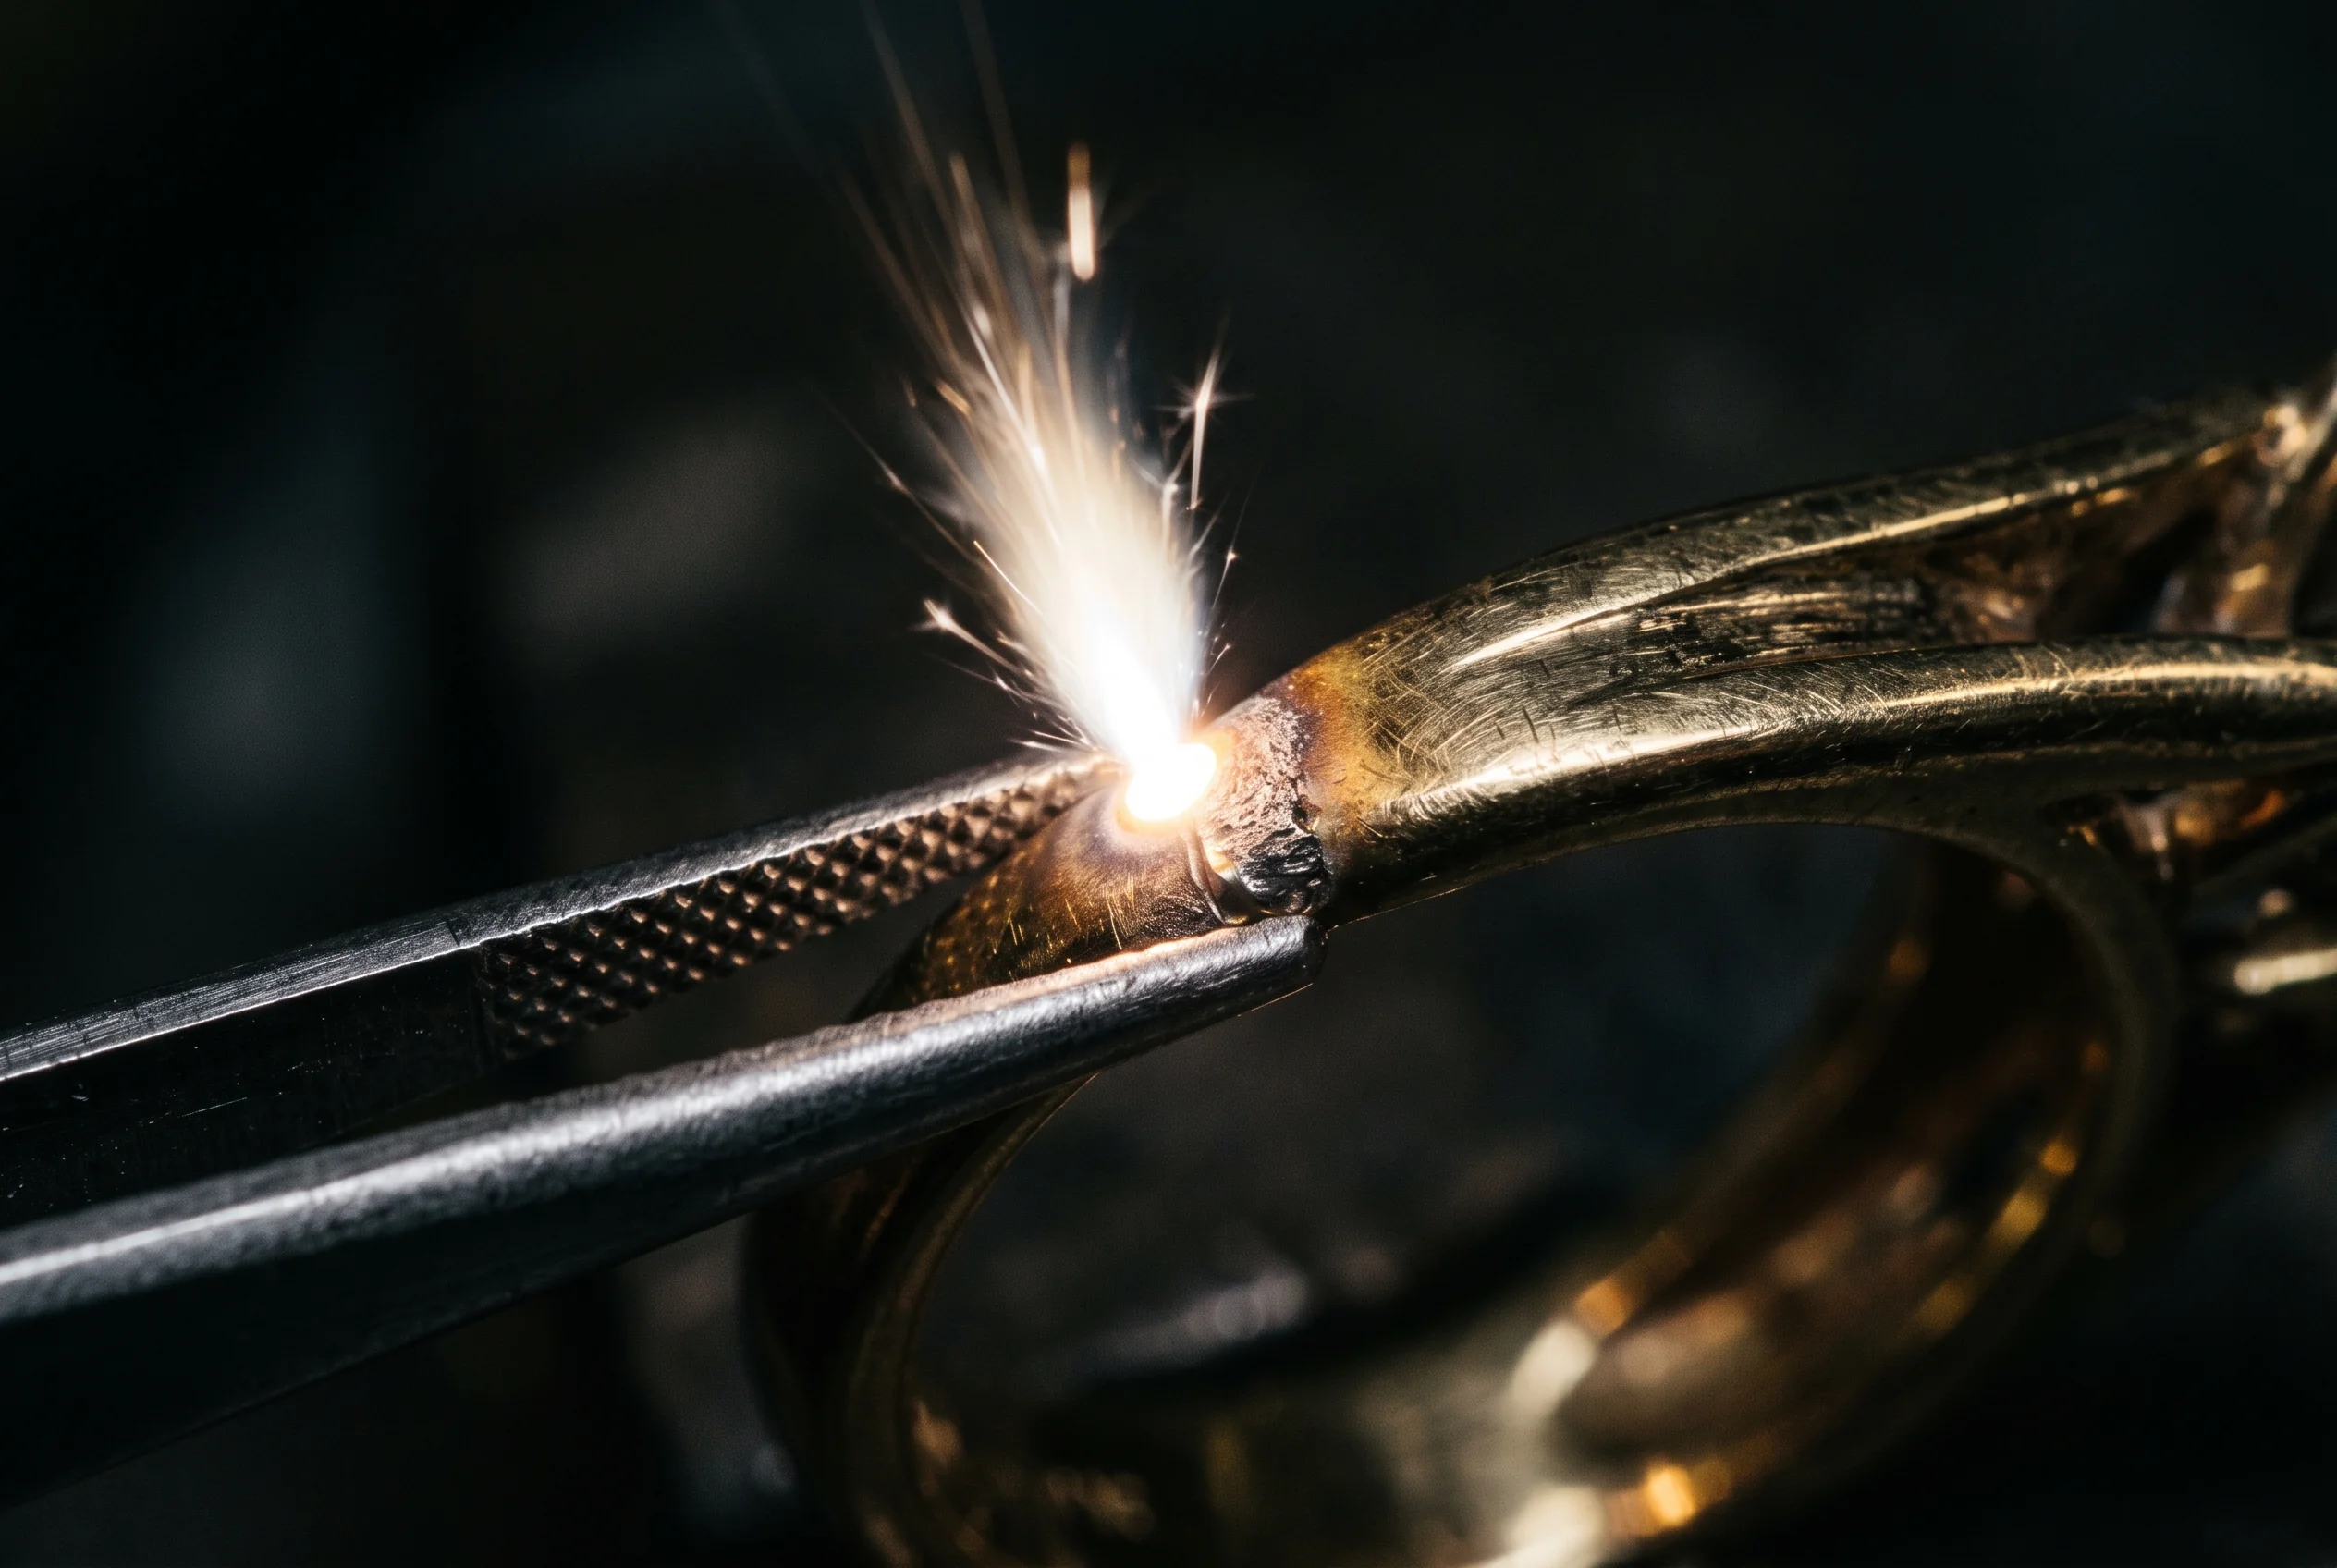
Test areaMacro of a shank joint being welded
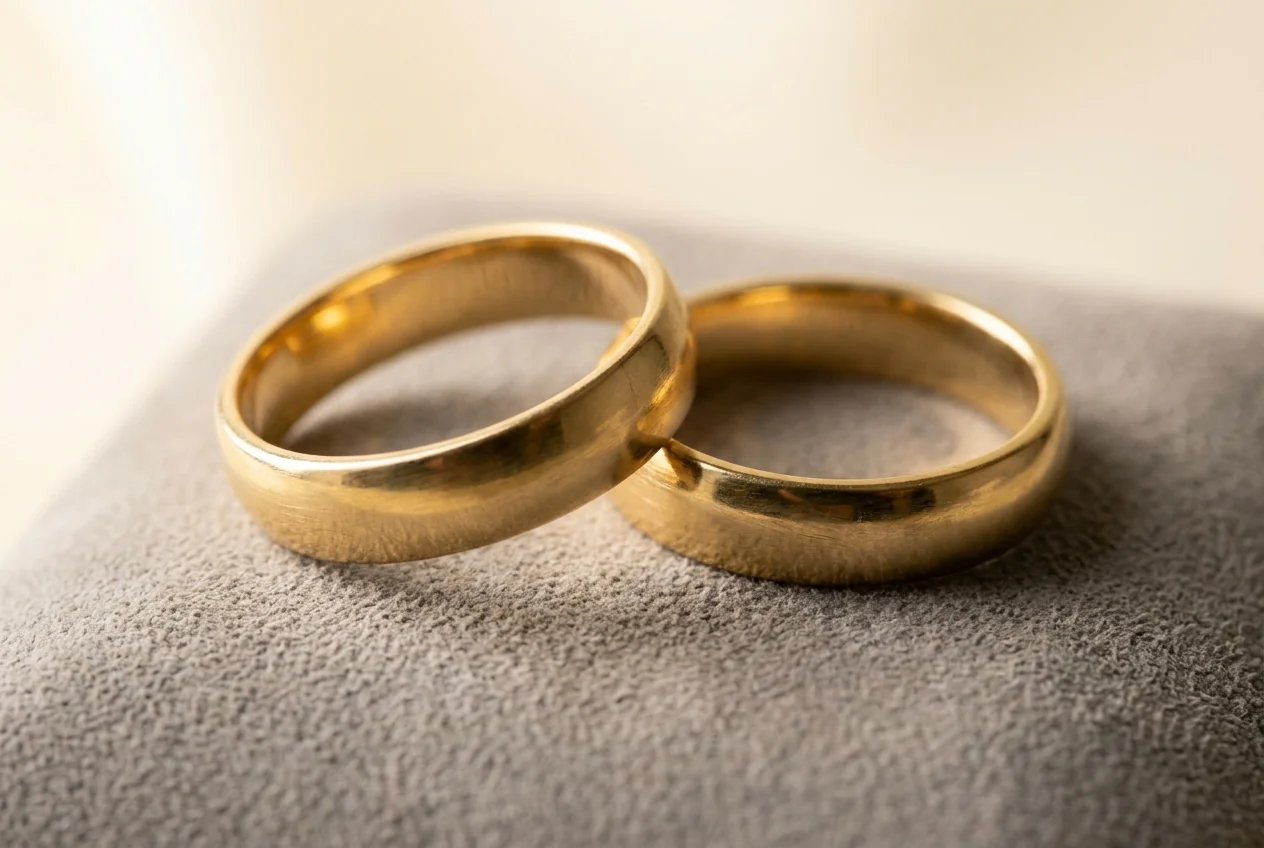
ResultFinished gold bands after filing and polishing
Points to
MW-DW200 — Affordable Jewelry Laser Welder

A heavier section at moderate spot size. Filler handling matters more here than optics.

View model
925 sterling silver

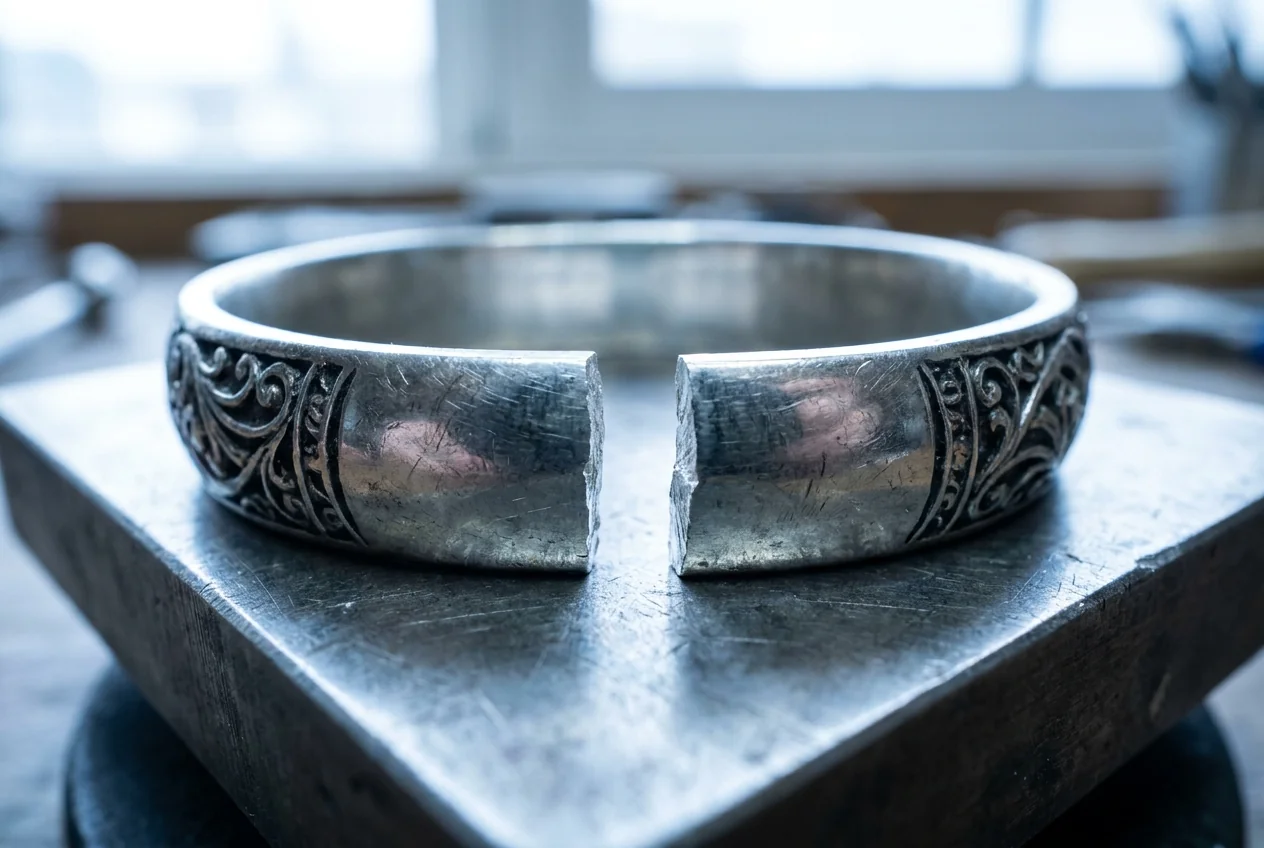
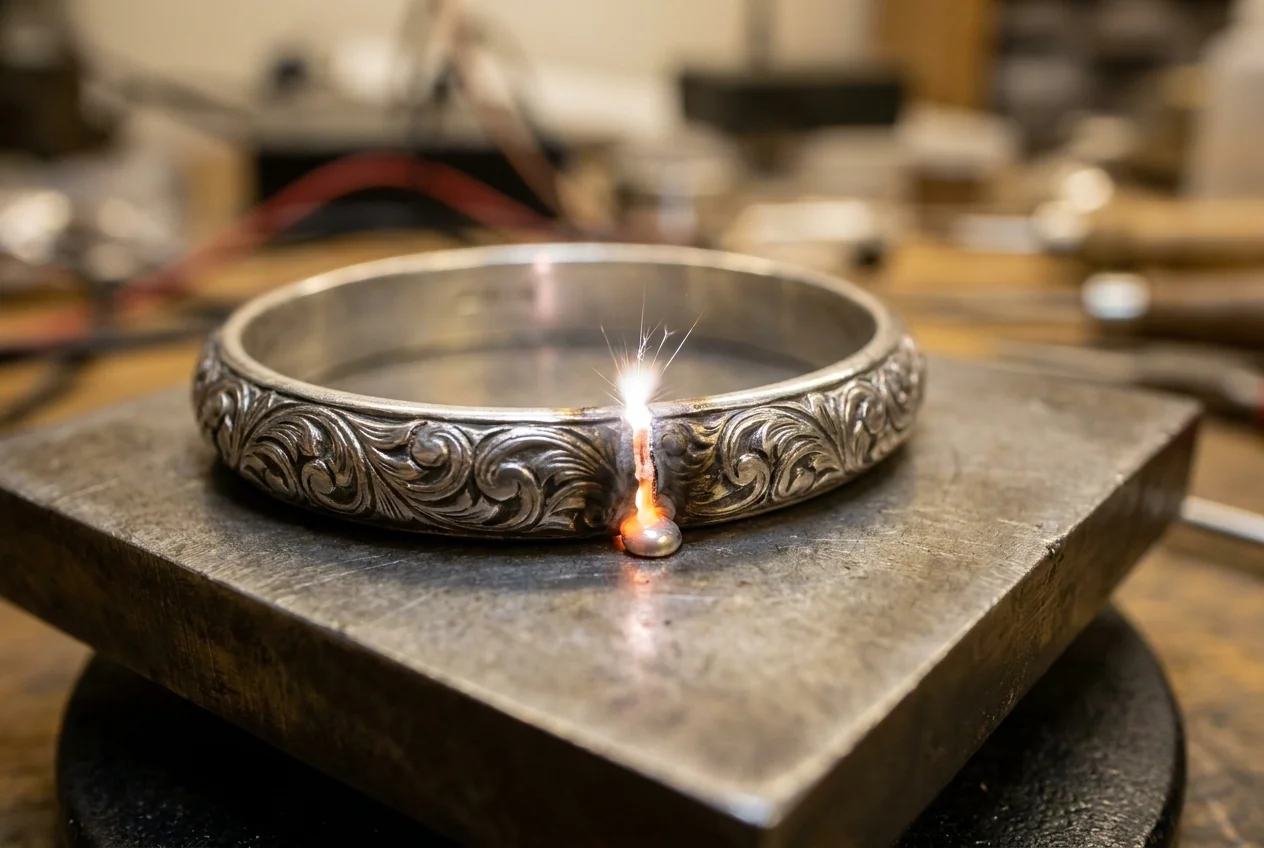
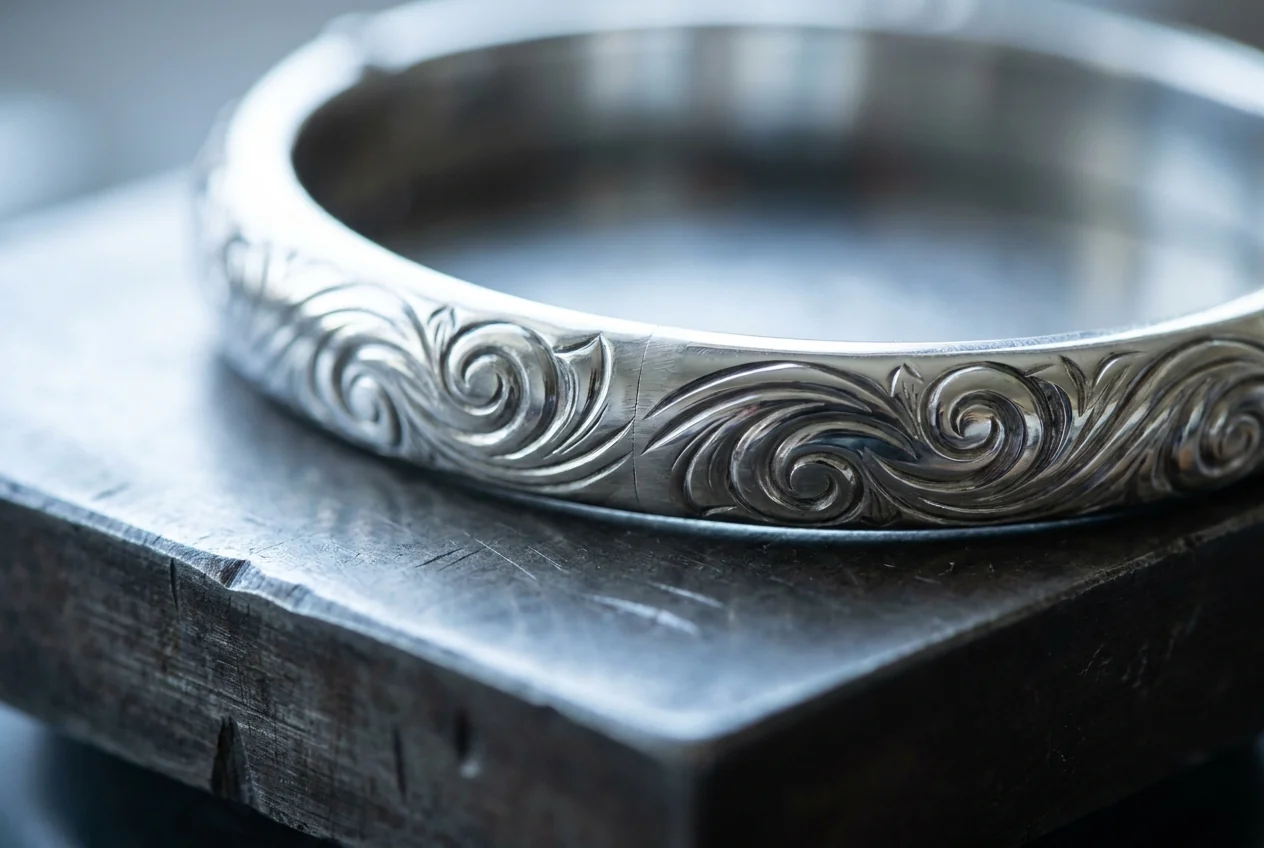
A broken bangle, rebuilt inside the pattern

SampleEngraved sterling silver bangle with a clean break
Test areaMacro of a silver bangle seam being laser welded
ResultThe same silver bangle whole and polished
Points to
NOVA — Stylish Jewelry Laser Welder

Silver carries heat away and the repair has to sit inside the engraving. Optics and a small spot decide it.

View model
Pt950 platinum

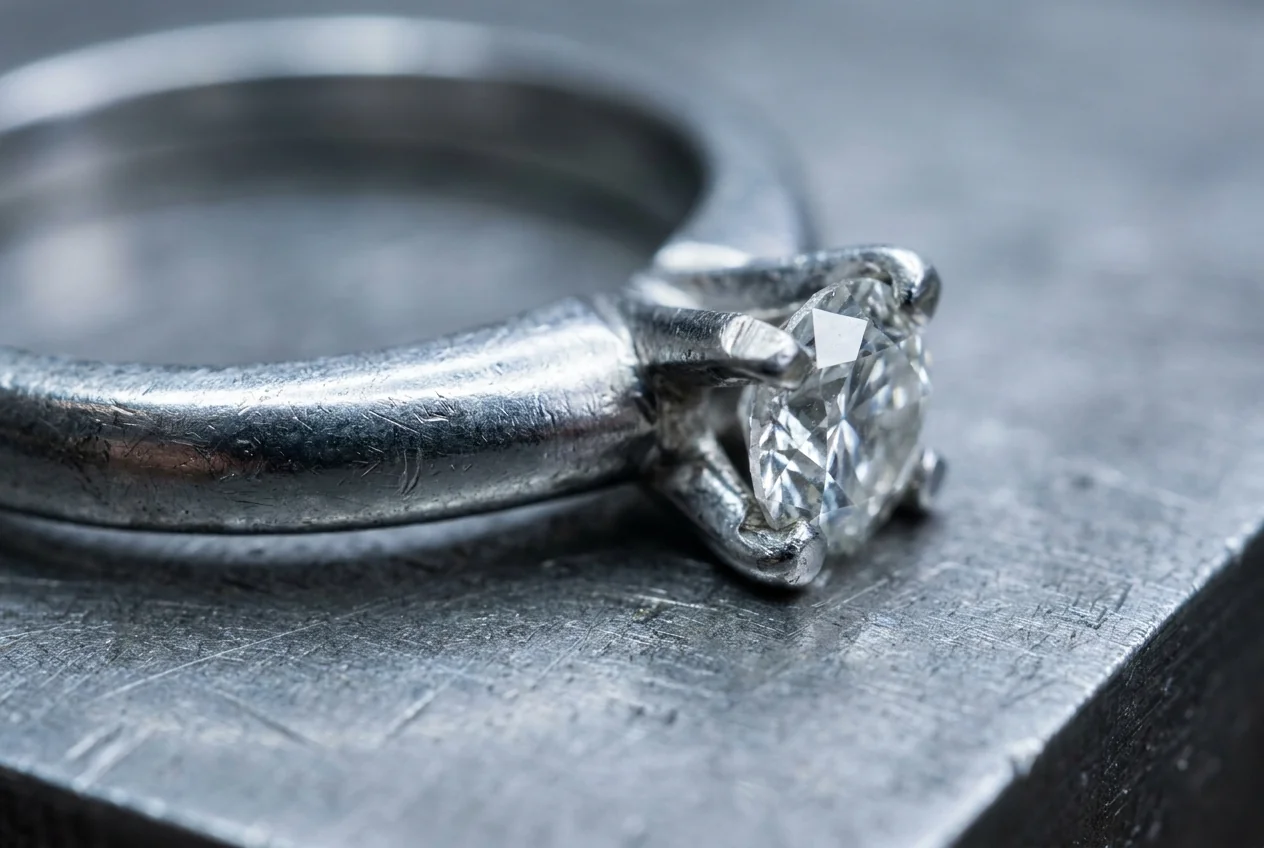
A worn claw, rebuilt with the stone set

SamplePlatinum solitaire with one claw worn to a stub
Test areaMacro of a platinum claw being rebuilt under laser welding
ResultThe same platinum solitaire with all four claws full
Points to
M3 — 3-in-1 Jewelry Laser Welder

Platinum needs real energy in a tiny spot and twenty near-identical pulses. Repeatability is the deciding control.

View model

These three are worked examples showing what a completed test contains, photographed at the bench. Your own result comes back on your own piece.

From Test Result to Machine Recommendation

How a result turns into a model. This is the reasoning we send with your test, written out in advance.

What the test shows What that points to Usual recommendation
Clean joint at moderate spot size, filler doing the work Sizing and shank work rather than fine detail. Spot size is not the constraint. MW-DW200 — Affordable Jewelry Laser Welder
Needed energy but also needed control at the tip Mixed repair work, platinum among it, several joints a day rather than several a week. M3 — 3-in-1 Jewelry Laser Welder
Failed on spot size or on what the operator could resolve Chain, filigree or close-to-stone work. Optics decide the job before energy does. NOVA — Stylish Jewelry Laser Welder
Fine individually, but the volume is the problem Batch work across shifts, where duty cycle and cooling decide throughput. QCW Series — Continuous-Duty Jewelry Laser Welder
Marginal on the sample we were sent Worth a second test on a different section before anyone recommends anything. Another test, not a model

Testing & Shipping Information

The test weld itself is free. Everything around it is agreed with you in writing at the confirm step, because it depends on where you are and what you send — so here is exactly what gets settled before anything is posted.

Who covers shipping

Both directions are confirmed before you send — outbound to us and the return to you are agreed separately, not assumed.

How many and how large

We confirm the number of pieces and the size we can take for your request rather than quoting a blanket limit here.

How long it takes

Turnaround depends on the method, the queue and the post between us. You get a timeframe at confirmation, not a slogan.

What we will not test

Anything on the confirm-first list above is discussed before it travels. If we cannot do it, we say so at that point.

Customs, duties and insurance on international shipments are part of the same confirmation. We would rather answer these before a package moves than apologise for them afterwards.

Frequently Asked Questions

The questions worth answering before you send anything.

The test weld itself is free and there is no obligation to buy afterwards. Shipping, how many pieces we can take and how long it will run are confirmed with you before anything is sent — free does not mean unconditional, and we would rather say what the conditions are than leave you to find out.

Gold from 10K to 22K in yellow, white and rose; 925 sterling, fine silver and Argentium; platinum in Pt950/Ru, Pt950/Co and Pt900/Ir; plus palladium, titanium and stainless steel. Titanium wants shielding gas at the joint. Anything outside that list — aluminium, plated base metal, costume pieces — is worth asking about before you send it rather than after.

No. A photo review gets you a feasibility read without anything leaving your bench, and a live video demo lets you watch the weld and ask about settings. A physical sample is the only route that lets you judge the finish in your own hand, which is why most benches end up there before they buy.

It depends on which method you pick, where you are, and the bench queue at the time. You get a timeframe when we confirm the request, before you send anything — that is a real answer for your job rather than a number that has to cover every job.

Yes — physical samples go back to you with the before, weld area and after views. The return arrangements are part of what gets confirmed before you send, so nothing about the journey home is left open.

Then that is the result, and it is worth as much as the other one. A test that shows a job is marginal saves a purchase that would have disappointed — we would rather recommend a second test, a different model, or nothing at all than sell against your own evidence.

Request Your Welding Test

Three short steps. We reply with what we can test and what it involves before anything is sent.

Step 1 Who we are replying to
Step 2 What you want tested
Step 3 Send it

Your details are used to answer this request and are not sold on.

Judge It On Your Own Work

Send the job your bench sends out most. We will weld it, show you the three views, and name the model that fits it.

Request a Test