Choosing a jewelry laser welder starts with the work that crosses your bench, not the wattage on the spec sheet. Four things decide the answer.
A jewelry laser welder is one of the most valuable tools a modern jewelry workshop can own. It allows precise, low-heat welding on delicate pieces — rings, chains, prongs and settings — with the heat held at the joint rather than carried through the piece. What that means for a particular stone is still assessed piece by piece. But with dozens of models on the market ranging from a few thousand to tens of thousands of dollars, choosing the right one can feel overwhelming.
This guide breaks down the exact factors you should evaluate before purchasing, so you can invest confidently in equipment that matches your workflow, budget, and long-term business goals.
Four kinds of bench, four different things to care about. Find the one that reads like your shop — the machine follows from that, not the other way round.
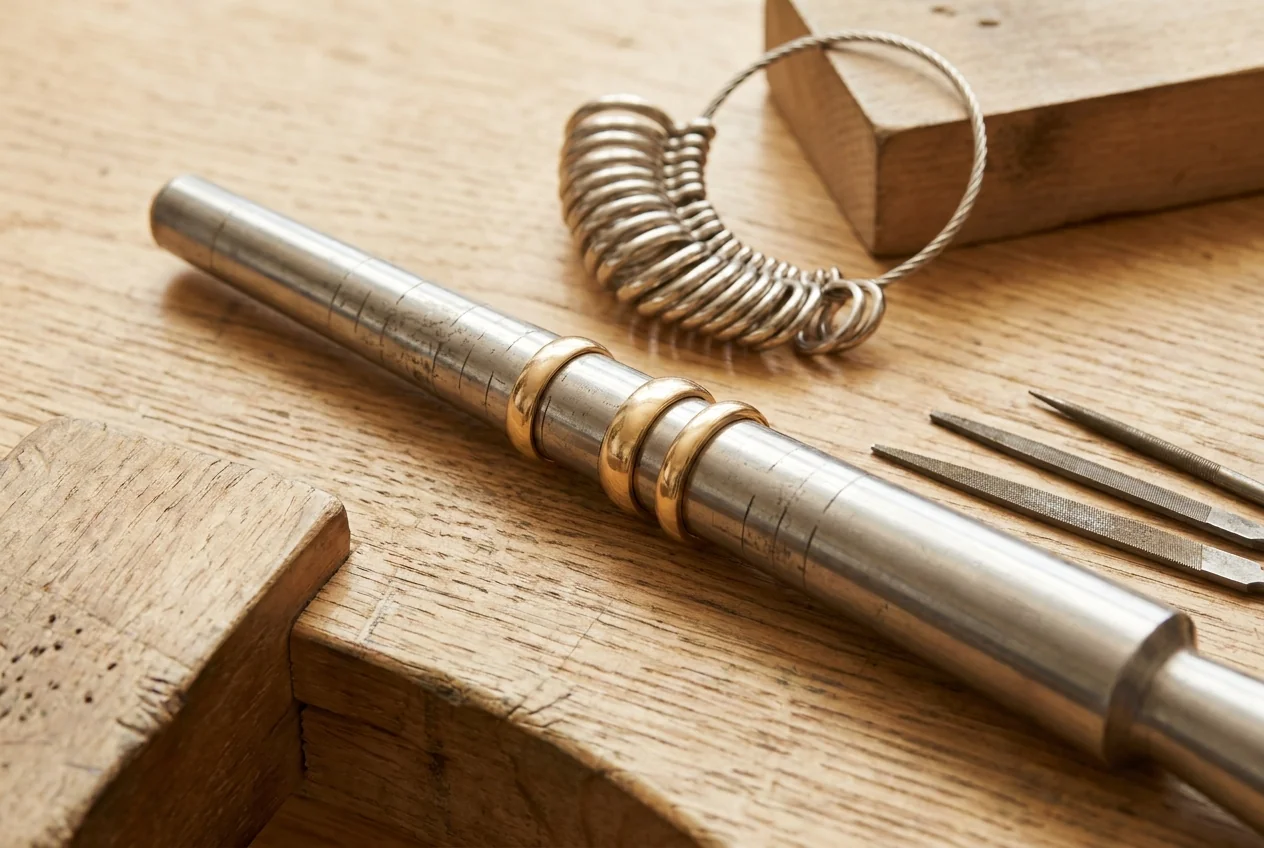
Volume is steady and varied. What matters is a machine an operator becomes confident on quickly, and settings that repeat across a busy day.

The limit is how small and how controlled a weld you can place. Spot size, pulse length and what you can see through the microscope decide the job.
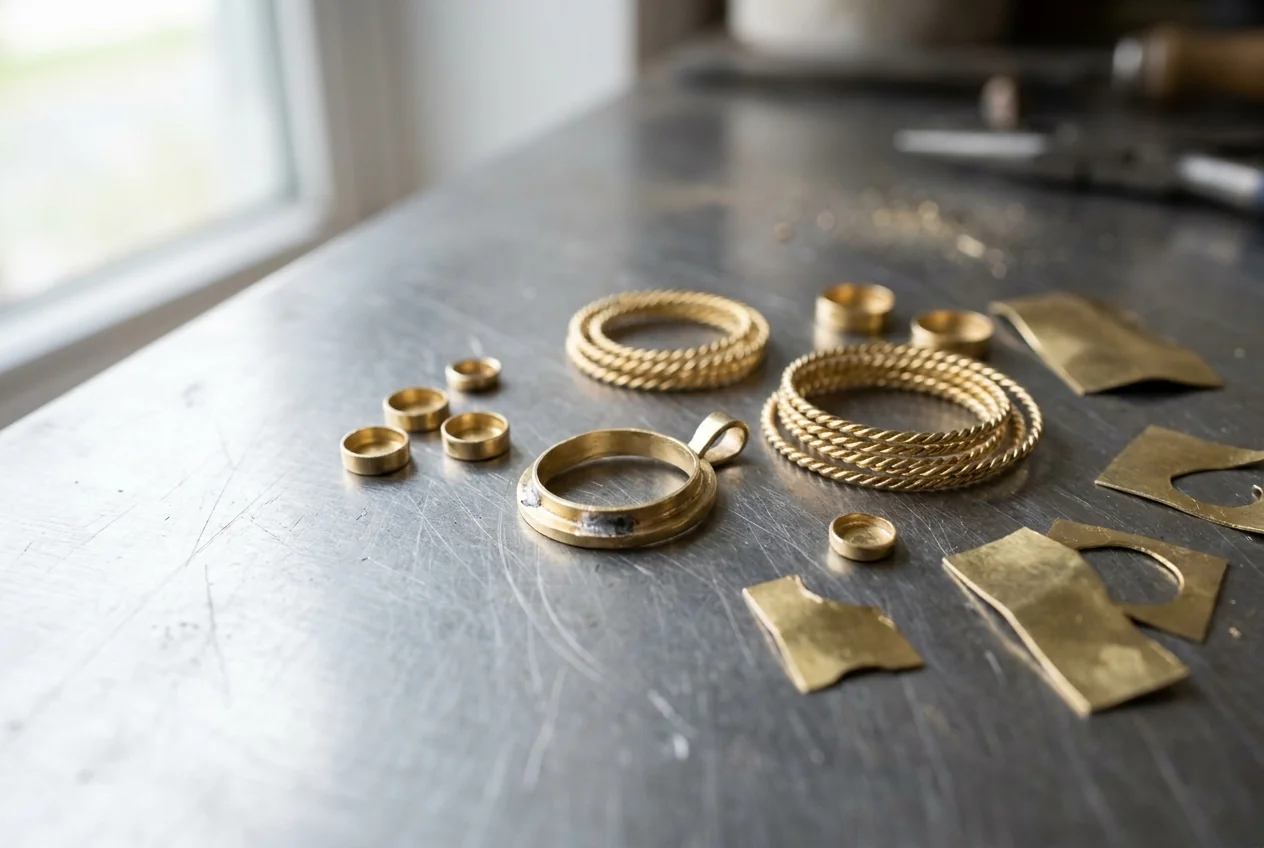
Mixed alloys, mixed thicknesses, filler wire in and out all day. A wide, predictable parameter range matters more than a high ceiling.
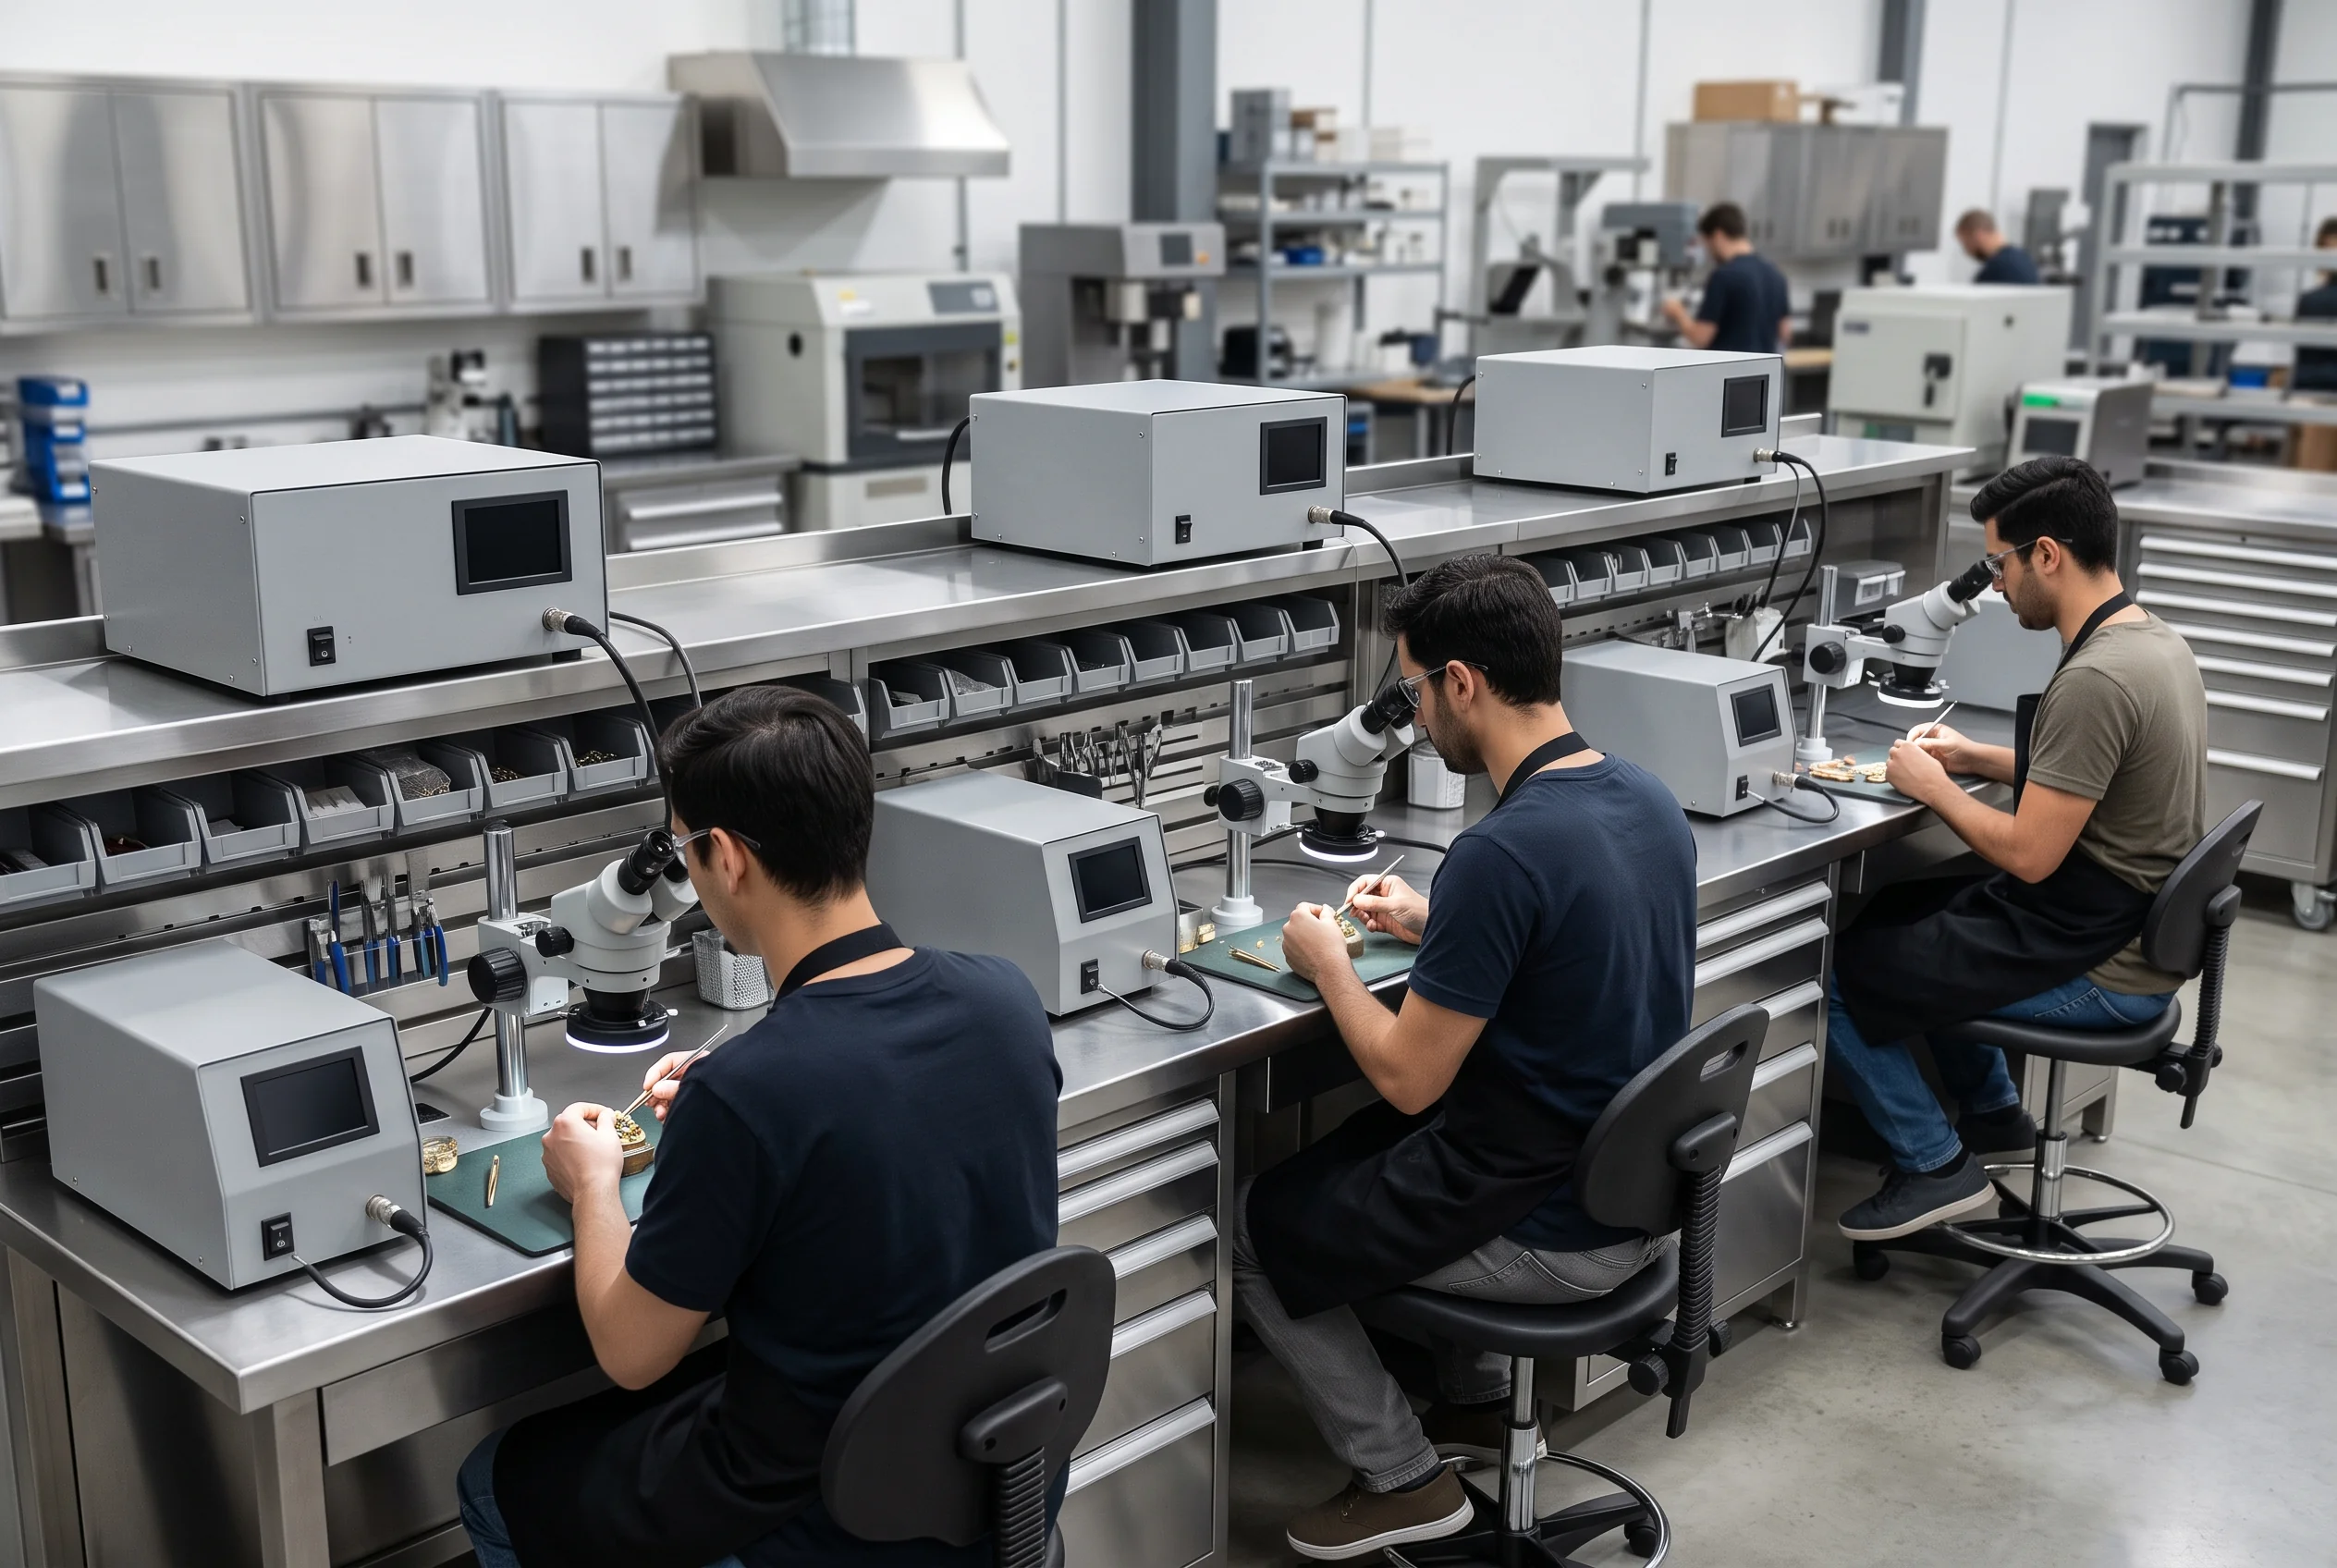
The same weld, hundreds of times. Output that holds over a shift and results that survive an operator change are what you are buying.
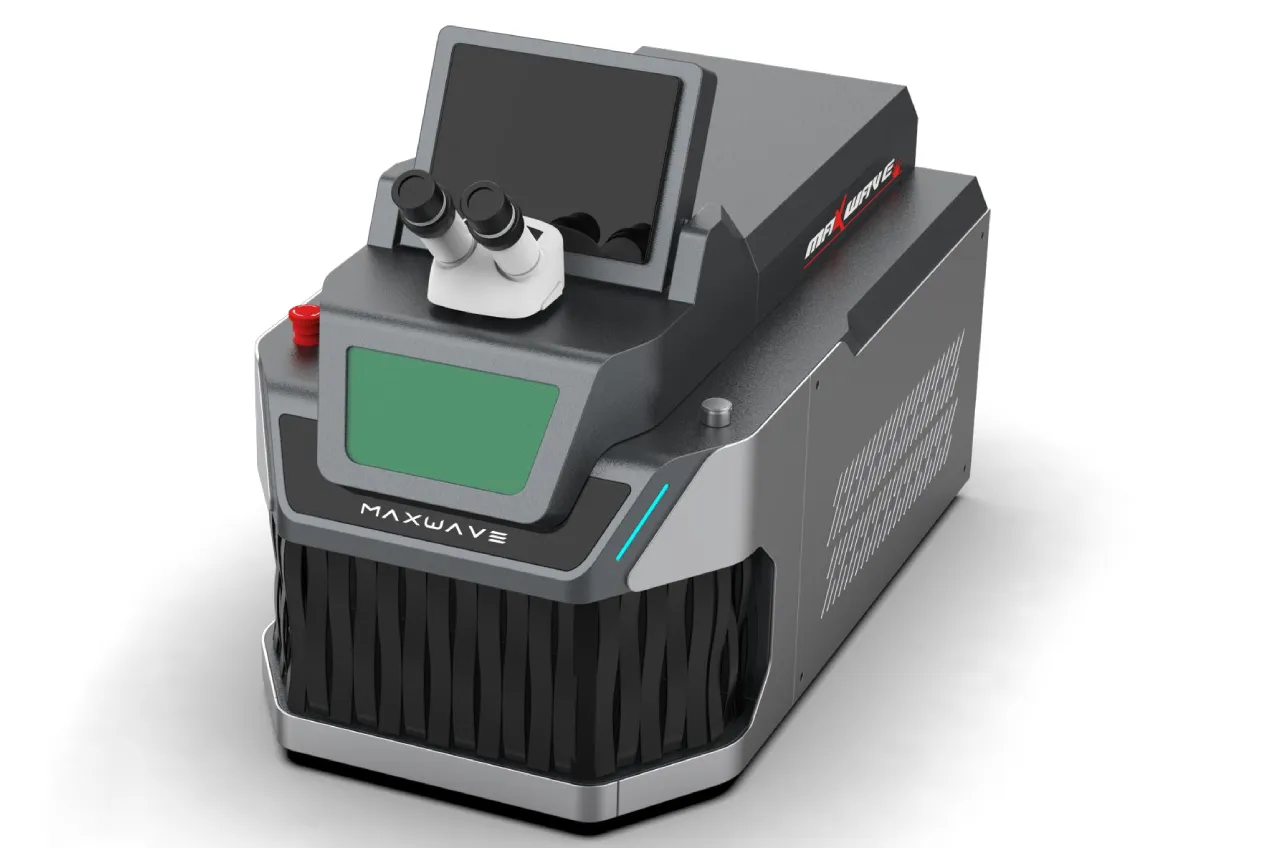
Four questions about your bench. The answer is a starting point for the conversation, not a quote.
Ranked by how often they decide whether a job goes well — not by how prominently they appear on a spec sheet.
What you weld decides everything downstream. A shop resizing rings and a studio closing filigree need different machines even at the same nominal power.
Spot diameter and pulse length set the smallest weld you can place with control. This is the ceiling on fine work, and raw power does not raise it.
A setting that gives the same weld on the fortieth joint as on the first. Repeatability is what lets an operator stop re-checking every result.
You cannot weld accurately what you cannot resolve. Microscope clarity, crosshair alignment and how the piece is held decide fine work as much as the laser does.
Cooling decides what the machine sustains over a working day. Match it to your duty cycle, not to a peak figure measured for a moment.
A machine nobody is confident operating is an expensive shelf. Ask who teaches your operators, and who answers when a weld goes wrong six months in.
Read each line as what it changes on the bench, not as a number to maximise.
Spot Diameter
How small an area the energy lands on. Smaller spots place finer welds; larger spots cover more metal per pulse. Adjustable range matters more than either extreme.
Pulse Length
How long each pulse lasts. Short pulses keep heat local for thin sections and work near settings; longer pulses put more energy into heavier metal.
Pulse Frequency
How many pulses per second. Higher rates suit running a seam or a series of joints; lower rates suit placing one considered weld at a time.
Peak Power
The ceiling a pulse can reach for an instant — not the power the machine runs at continuously. A higher ceiling does not make a finer weld.
Cooling
What the machine can sustain rather than what it can peak at. It is the spec that decides whether a busy afternoon runs without pauses.
Dimensions & Weight
Whether it fits the bench you actually have, with room to work and for air to move. Measure before you choose, not after it arrives.
The same table read across: what you are doing, the machine capability that decides whether it goes well, and why that one and not another.
| Repair job | Capability that decides it | Why that one |
|---|---|---|
| Ring resizing | Stable output across a seam | The join runs the full width of the shank. Consistency along it matters more than what any single pulse can reach. |
| Chain and fine link repair | Small spot, short pulse | Neighbouring links have to keep their shape. The weld has to stay inside the break, which limits spot size before anything else. |
| Prong retipping | Fine energy control plus viewing | A claw tip is under a millimetre across and sits beside a stone. What you can resolve sets the limit, not what you can deliver. |
| Work close to set stones | Shortest controllable pulse | Keeping the heat-affected area small is the whole job. Each piece is still assessed on its own — stone, treatment and weld position all decide what is safe. |
| Porosity and crack filling | Filler control and repeatability | Metal is rebuilt pulse by pulse. Dozens of near-identical welds in a row make repeatability the deciding capability. |
| Custom fabrication | Wide, predictable parameter range | Alloys and thicknesses change through the day. Being able to move settings and land where you expect beats any single peak figure. |
| Repeated production joints | Cooling and duty cycle | The constraint is the shift, not the weld. What the machine sustains decides throughput once the parameters are set. |
Our own factory-direct machines start at US$5,000; see our current pricing for model-by-model figures.
Four machines, four kinds of bench. Full specifications live on each product page.

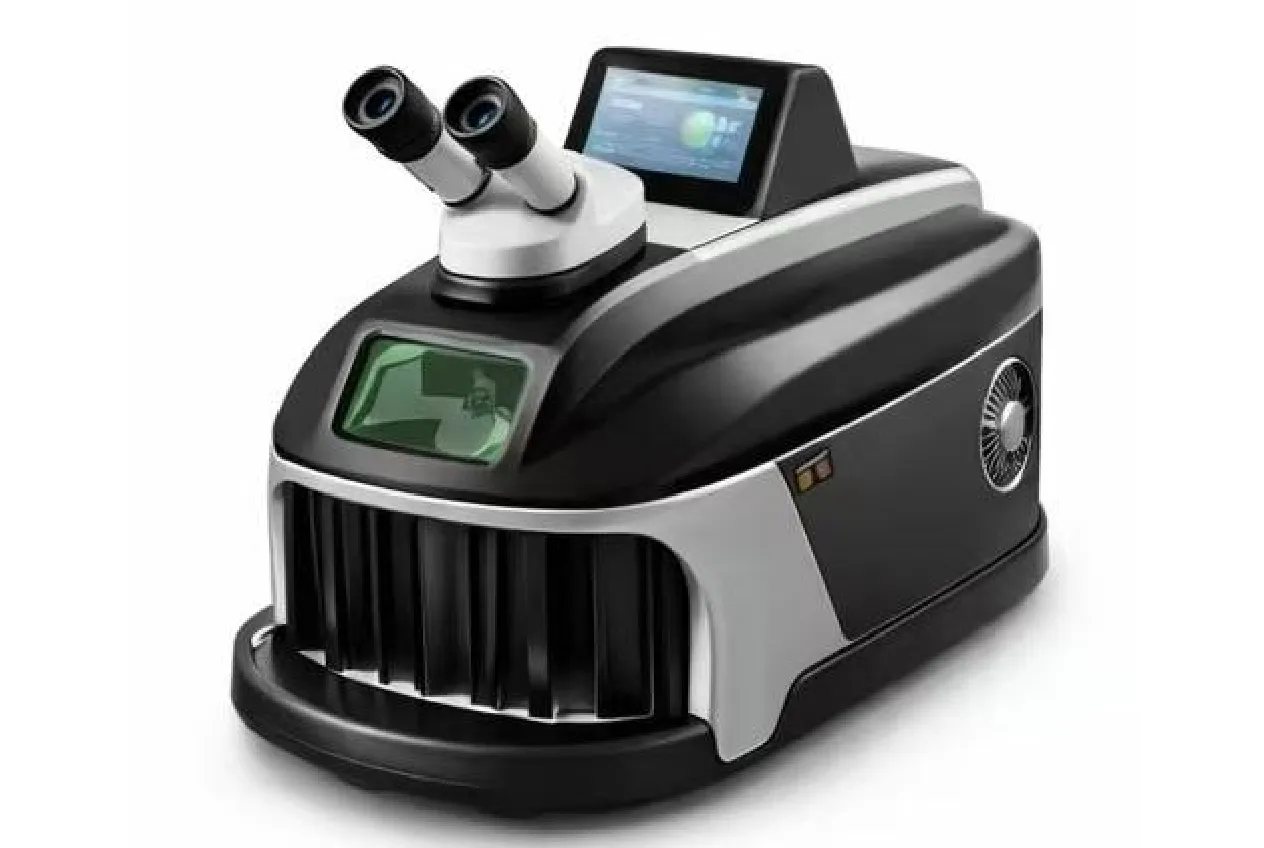
For independent jewelers and small repair shops bringing routine work back in-house — sizing, chains, prongs and settings on a normal bench.
See MW-DW200
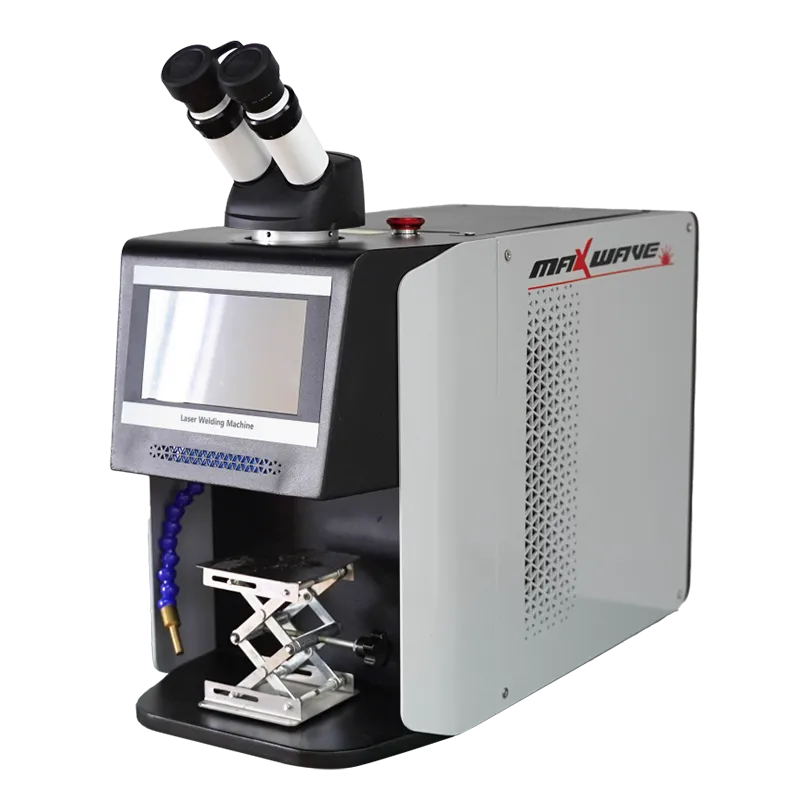
For professional goldsmiths and modern jewelry stores where the limit is how fine a weld you can place — with a design that looks professional in front of clients.
See NOVA
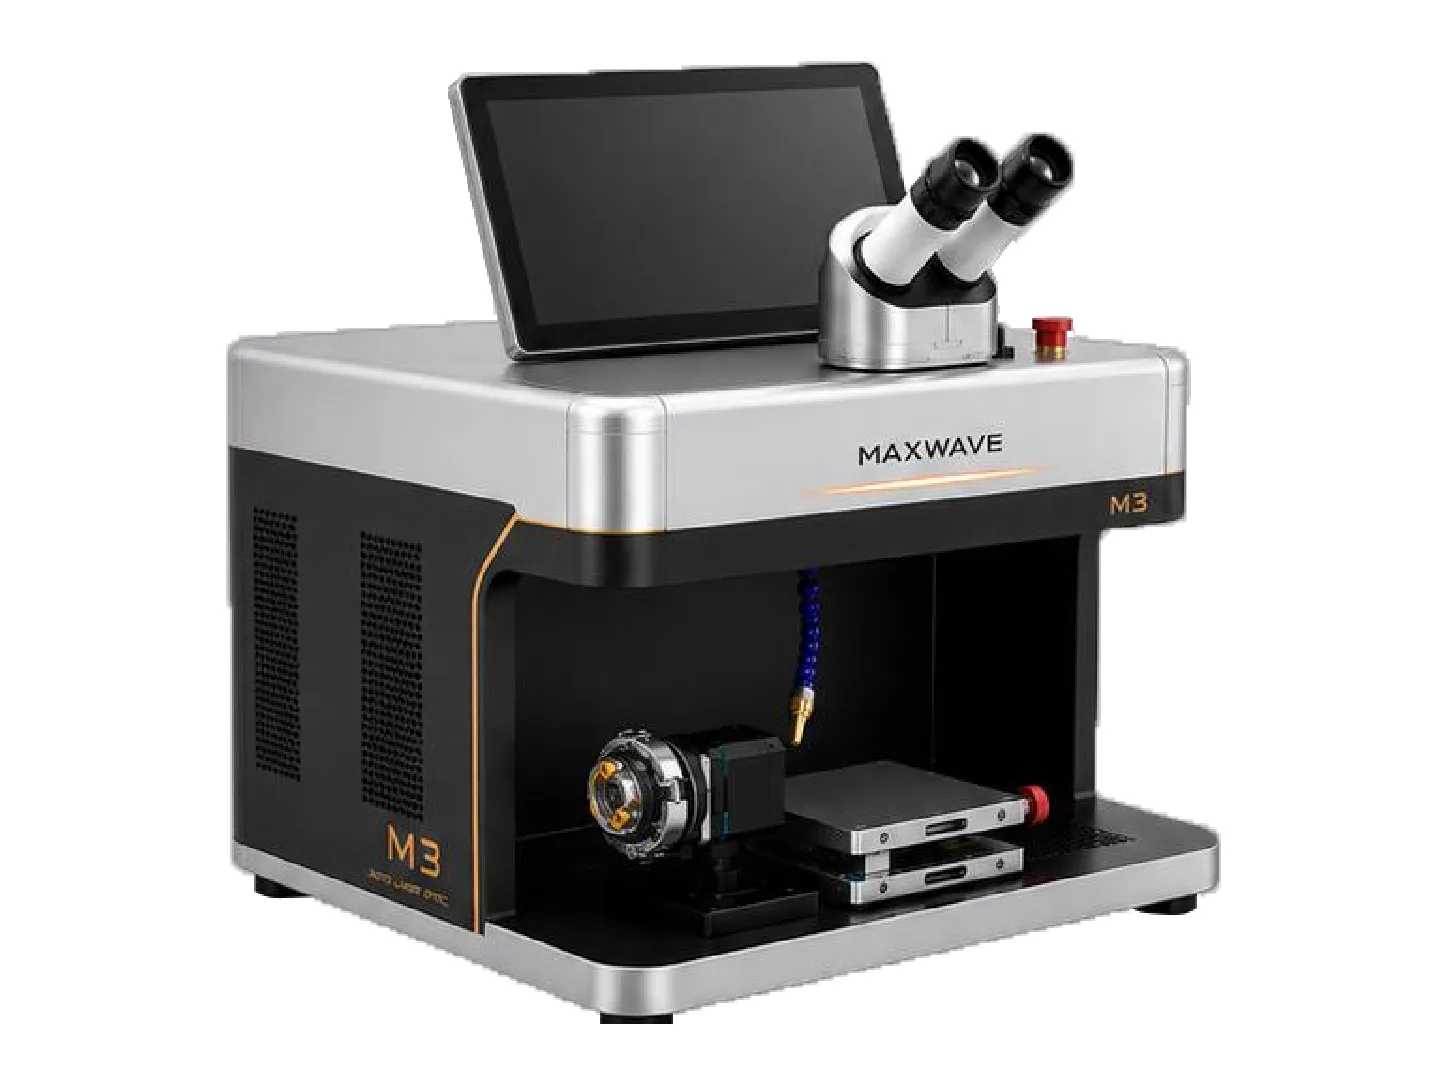
For active shops and goldsmiths who want more applications from one machine — laser welding, marking and cutting handled on the same bench.
See M3
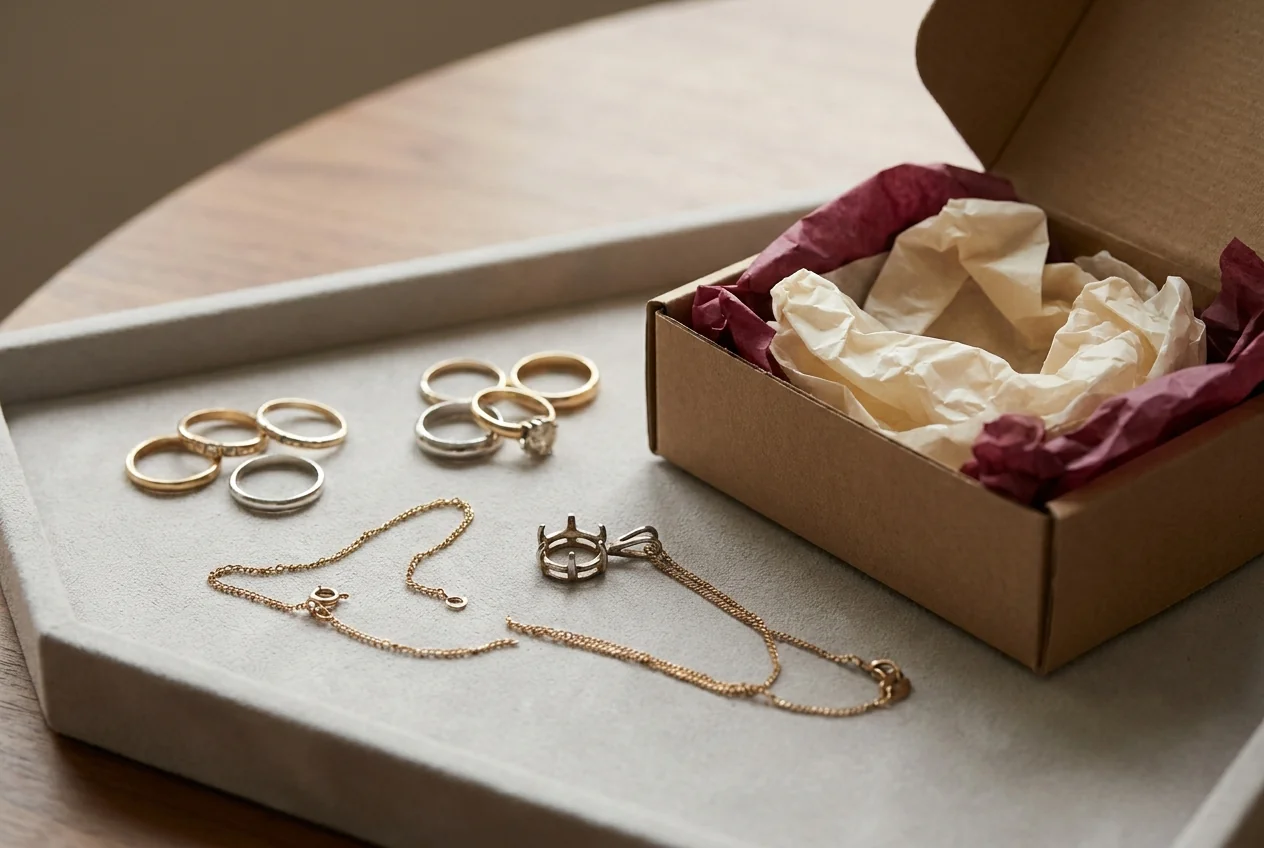
For busy workshops, repair centres and manufacturers running repeated joints under a continuous workload, where stability over a full shift is the constraint.
See the QCW SeriesFive that come up again and again, and what each one costs once the machine is on the bench.
A higher peak figure does not place a finer weld. Spot size, pulse control and stability decide fine work, and none of them move with wattage.
Bench depth, power supply and ventilation are checked after delivery more often than before it. Measure the space and confirm the voltage first.
A demo on someone else's sample proves the machine works, not that it works on your alloys, thicknesses and joints. Send your own piece.
The cost of a machine nobody can run confidently is measured in the jobs you still send out. Ask who trains the operator and who answers later.
Two quotes for the same nominal machine can differ by the viewing system, the cooling and what ships with it. Compare configurations, not headline figures.
The shortest way past every argument on this page is to put your own work in front of the machine.
A real piece and a real joint — the job you are unsure about, not the easy one.
Welded on the machine that suits the job, with the settings recorded.
You see the result and the parameters, then decide which machine the work actually needs.
Run through this before you talk to anyone, including us.
Browse our expert-reviewed models, filtered by budget, power, and workshop size.
View Reviews & Comparisons