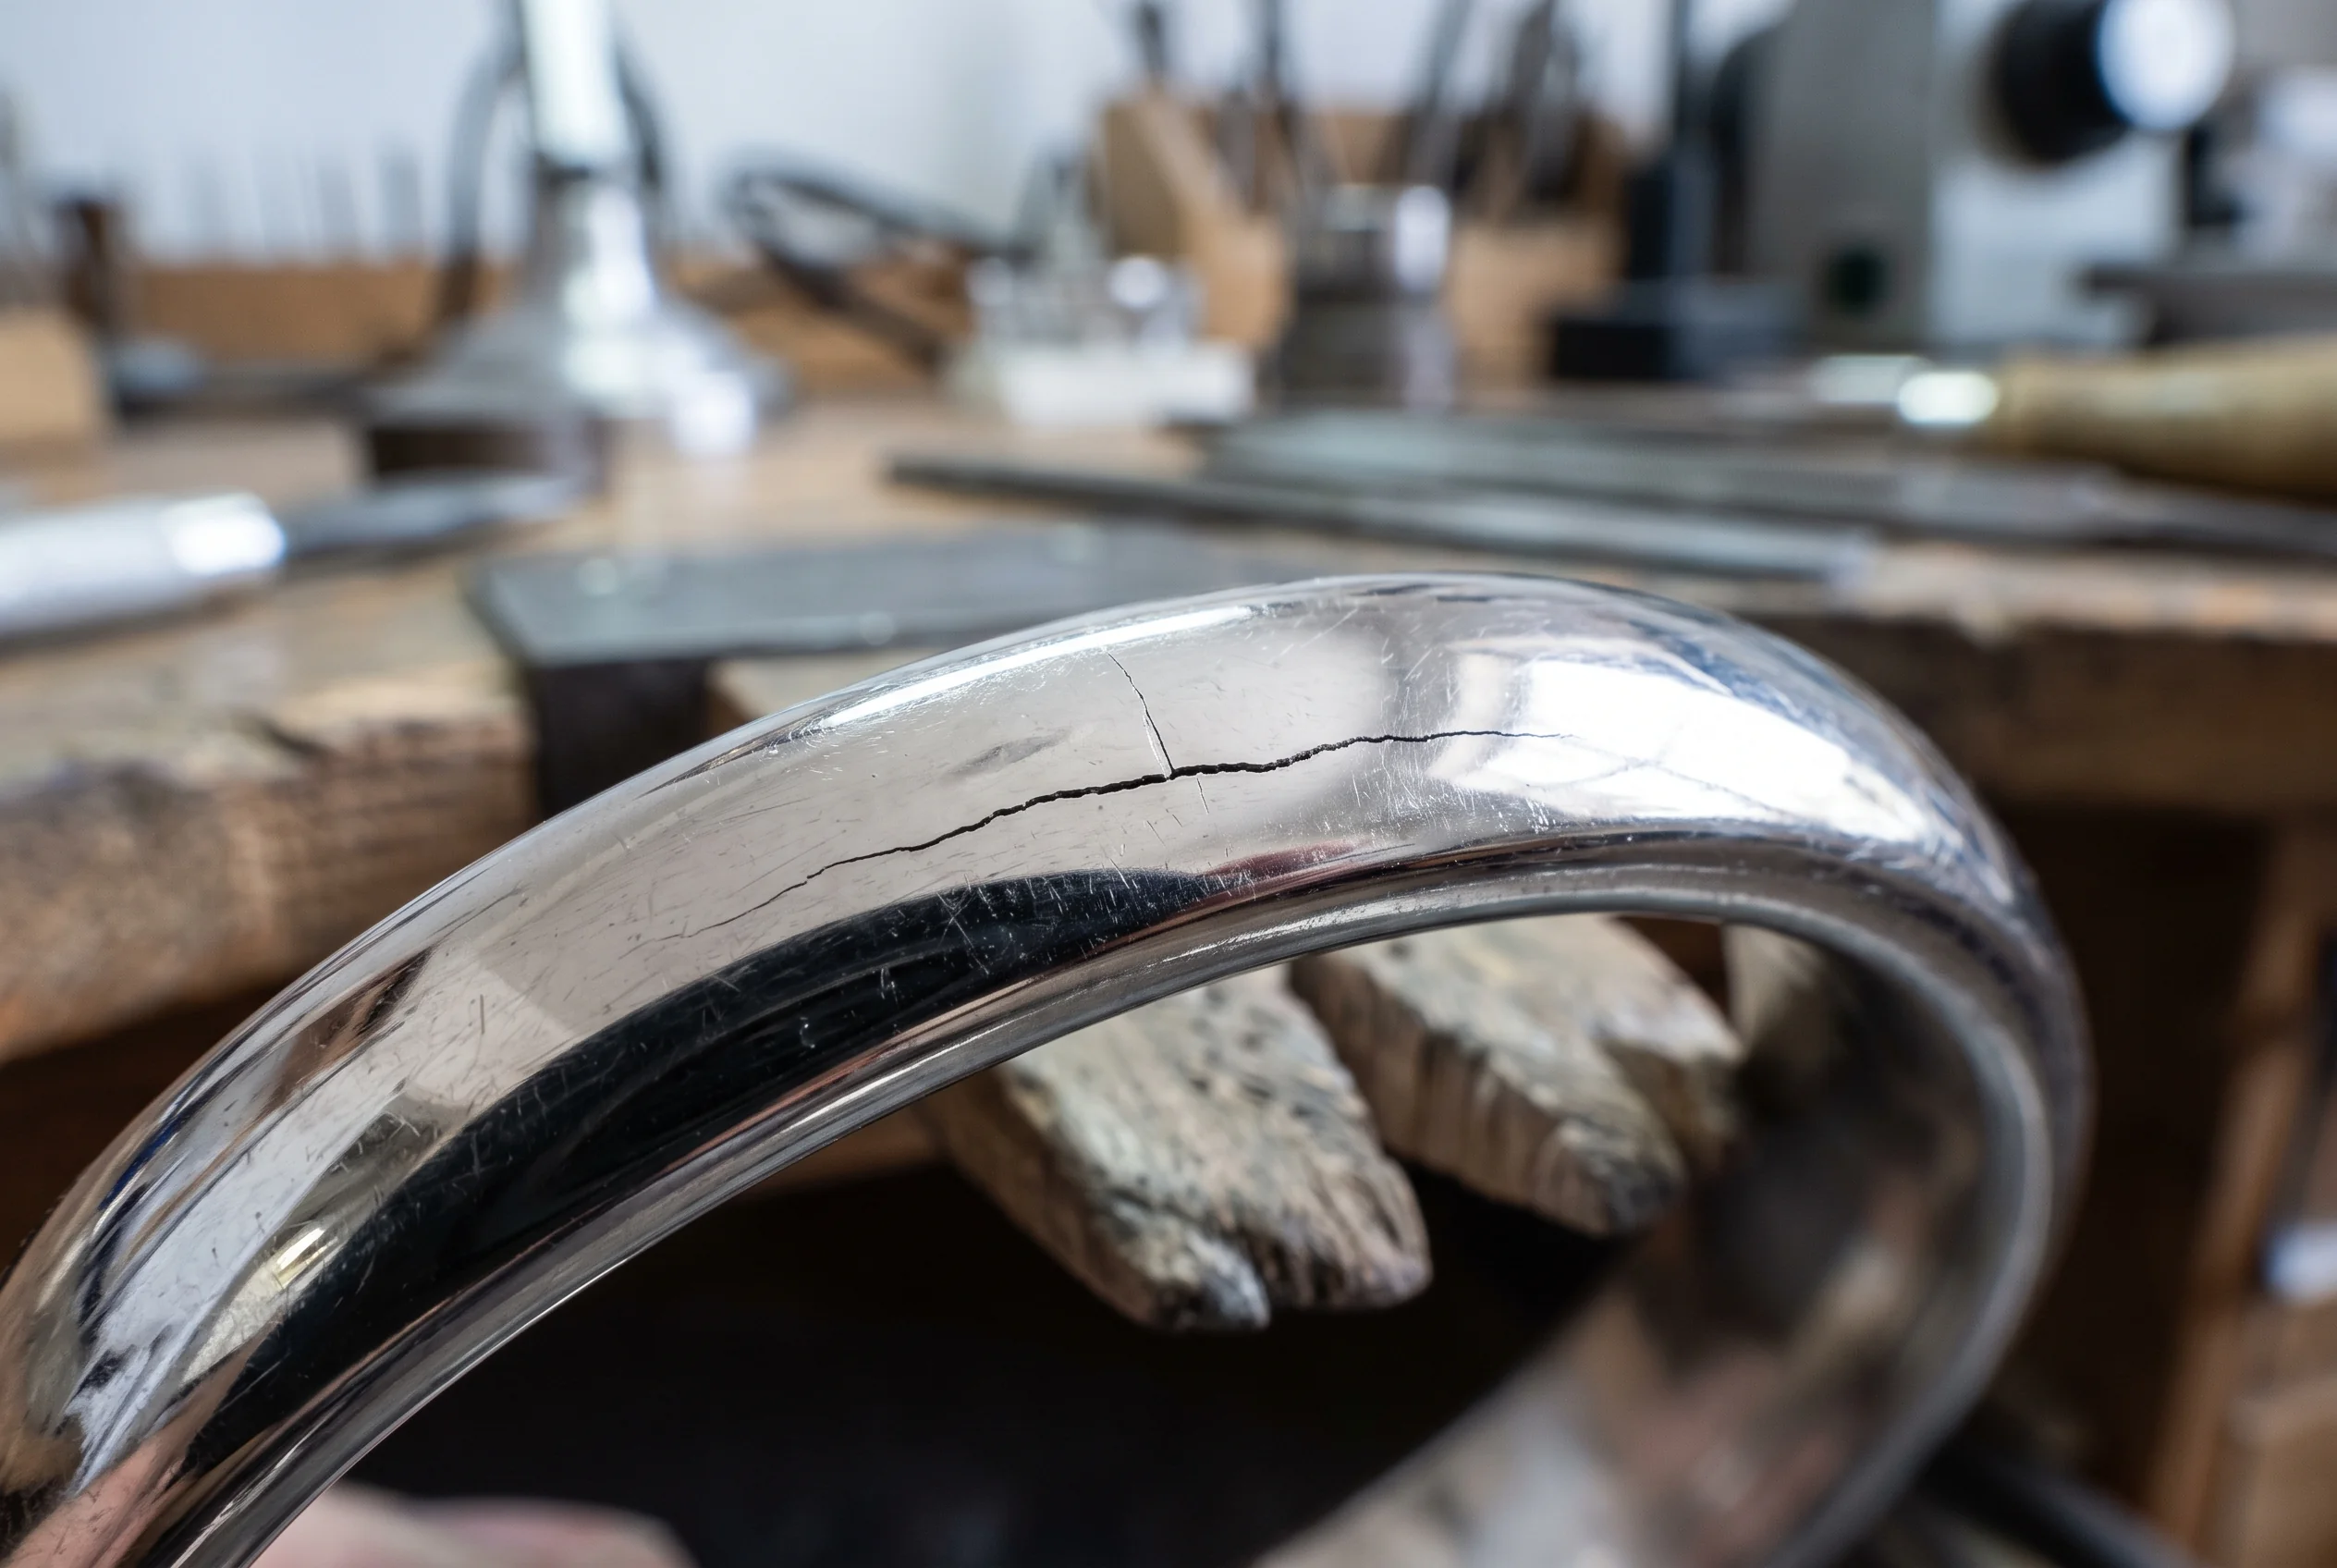
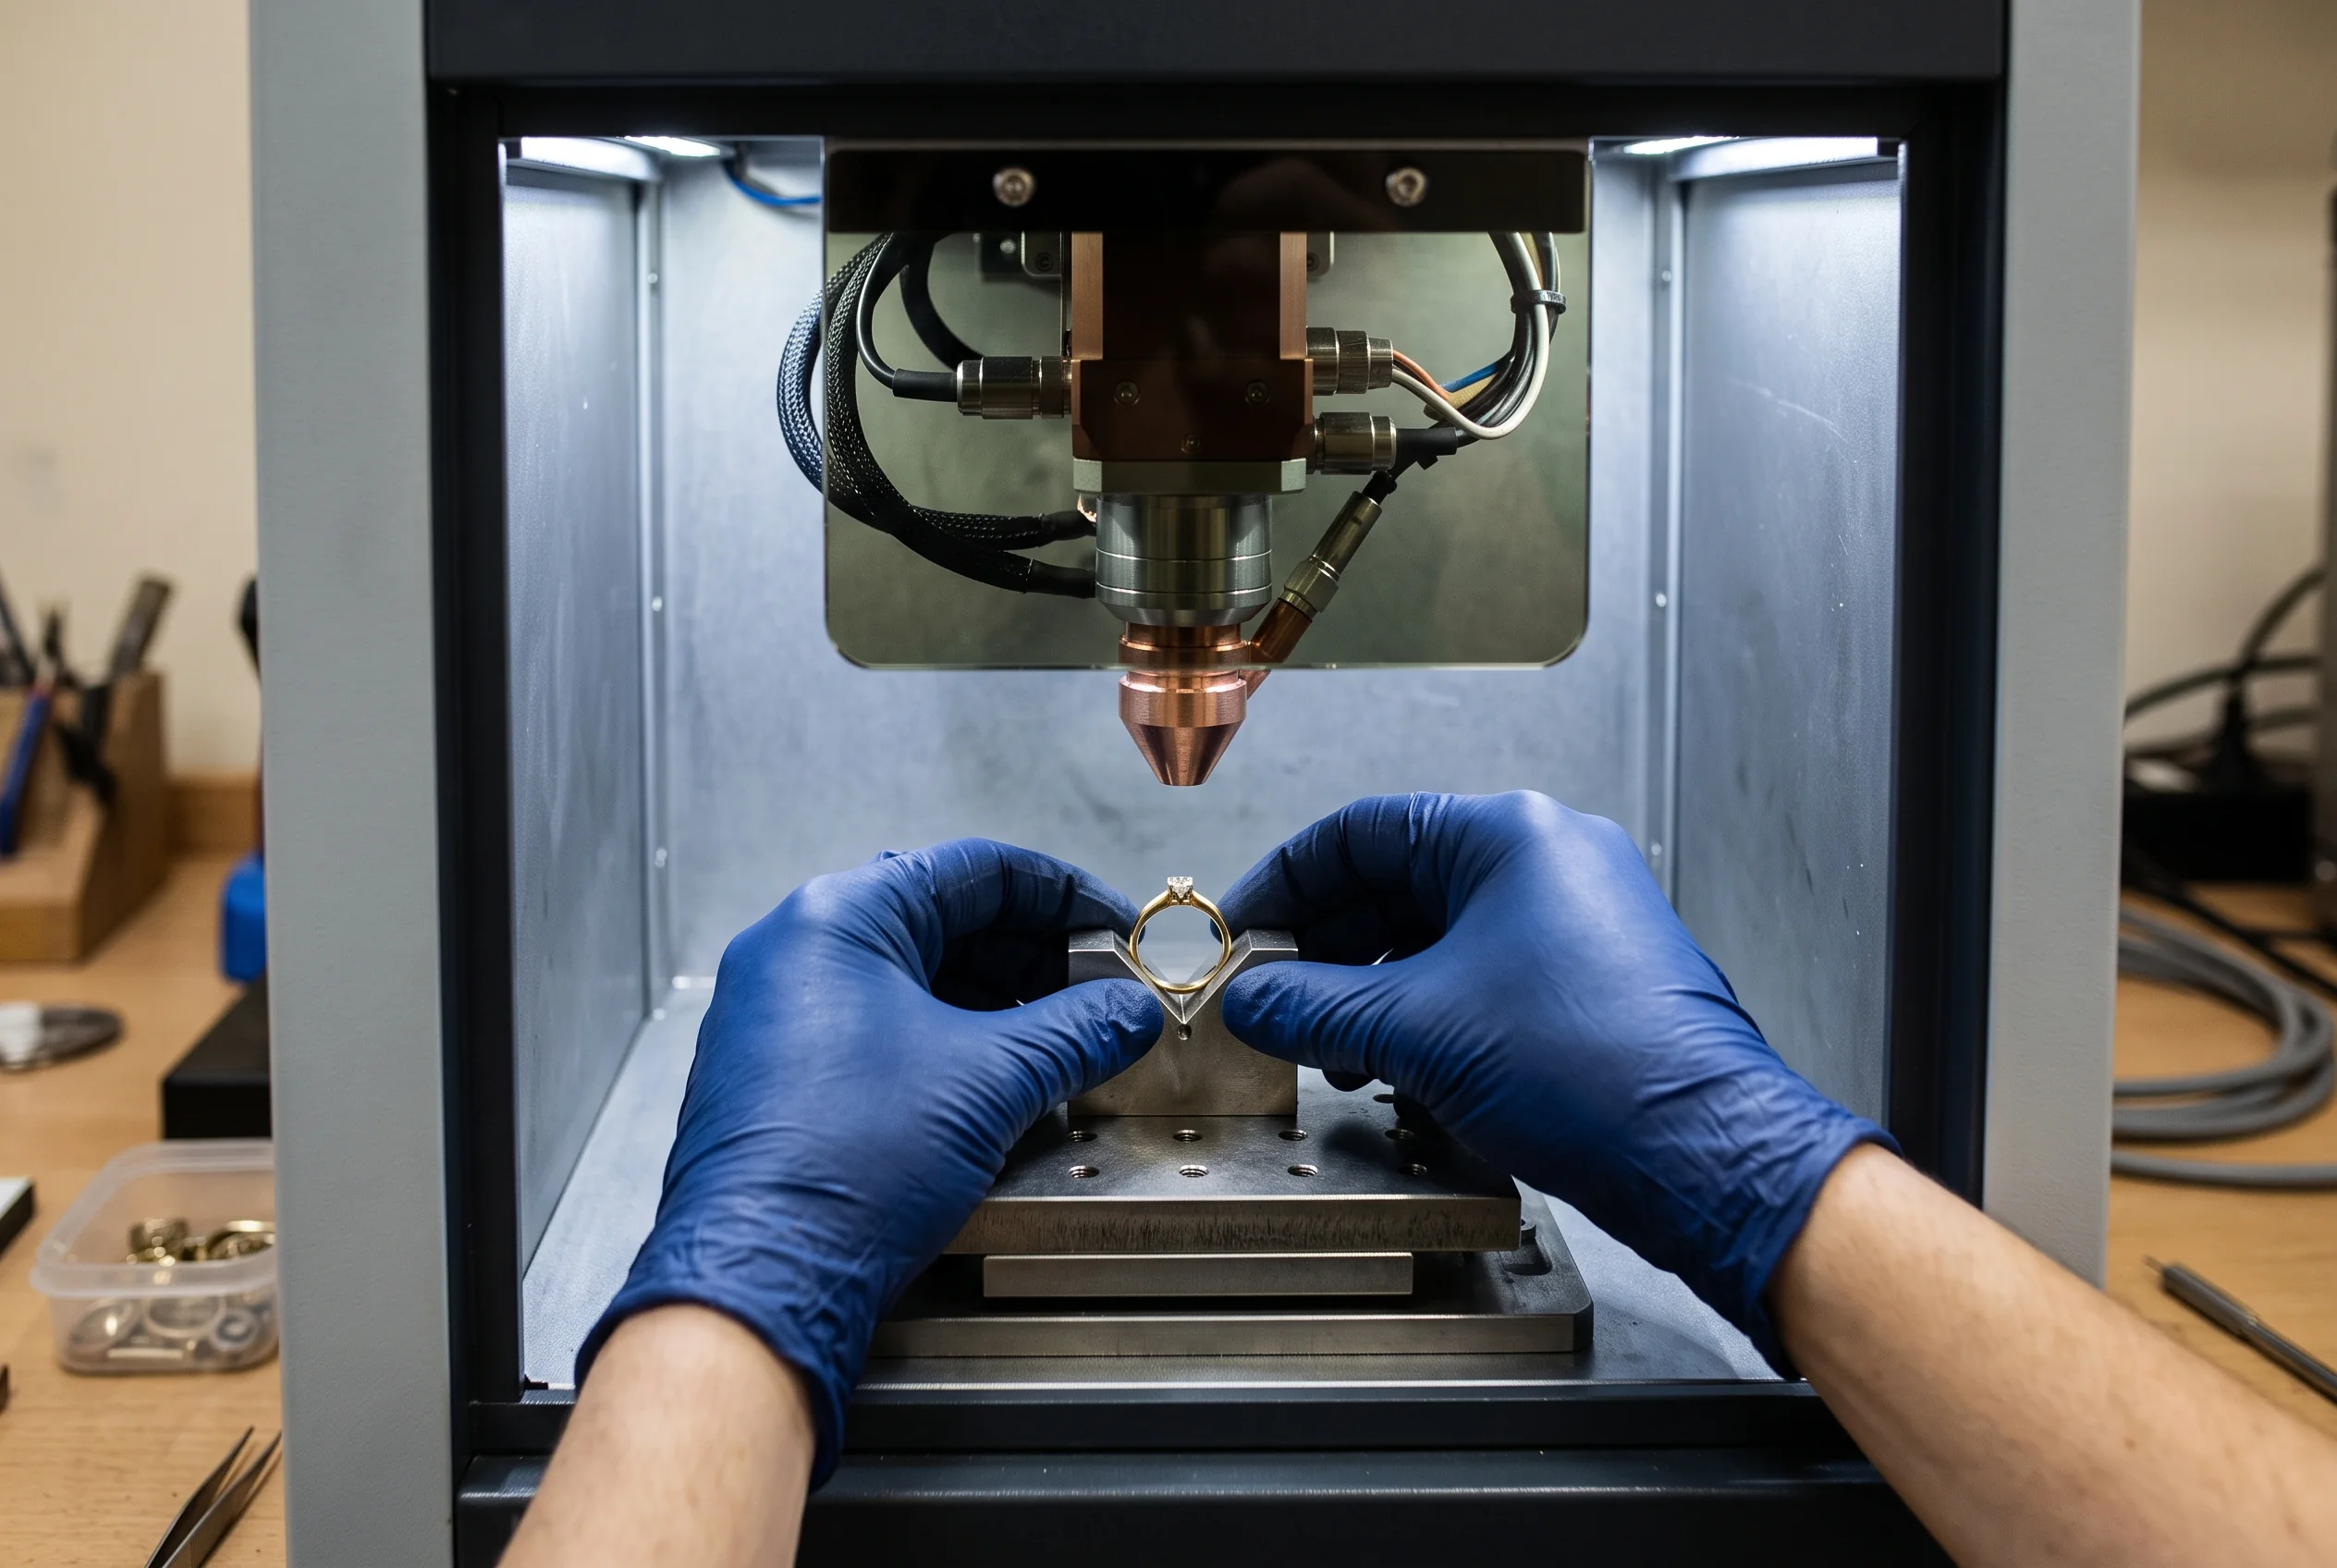
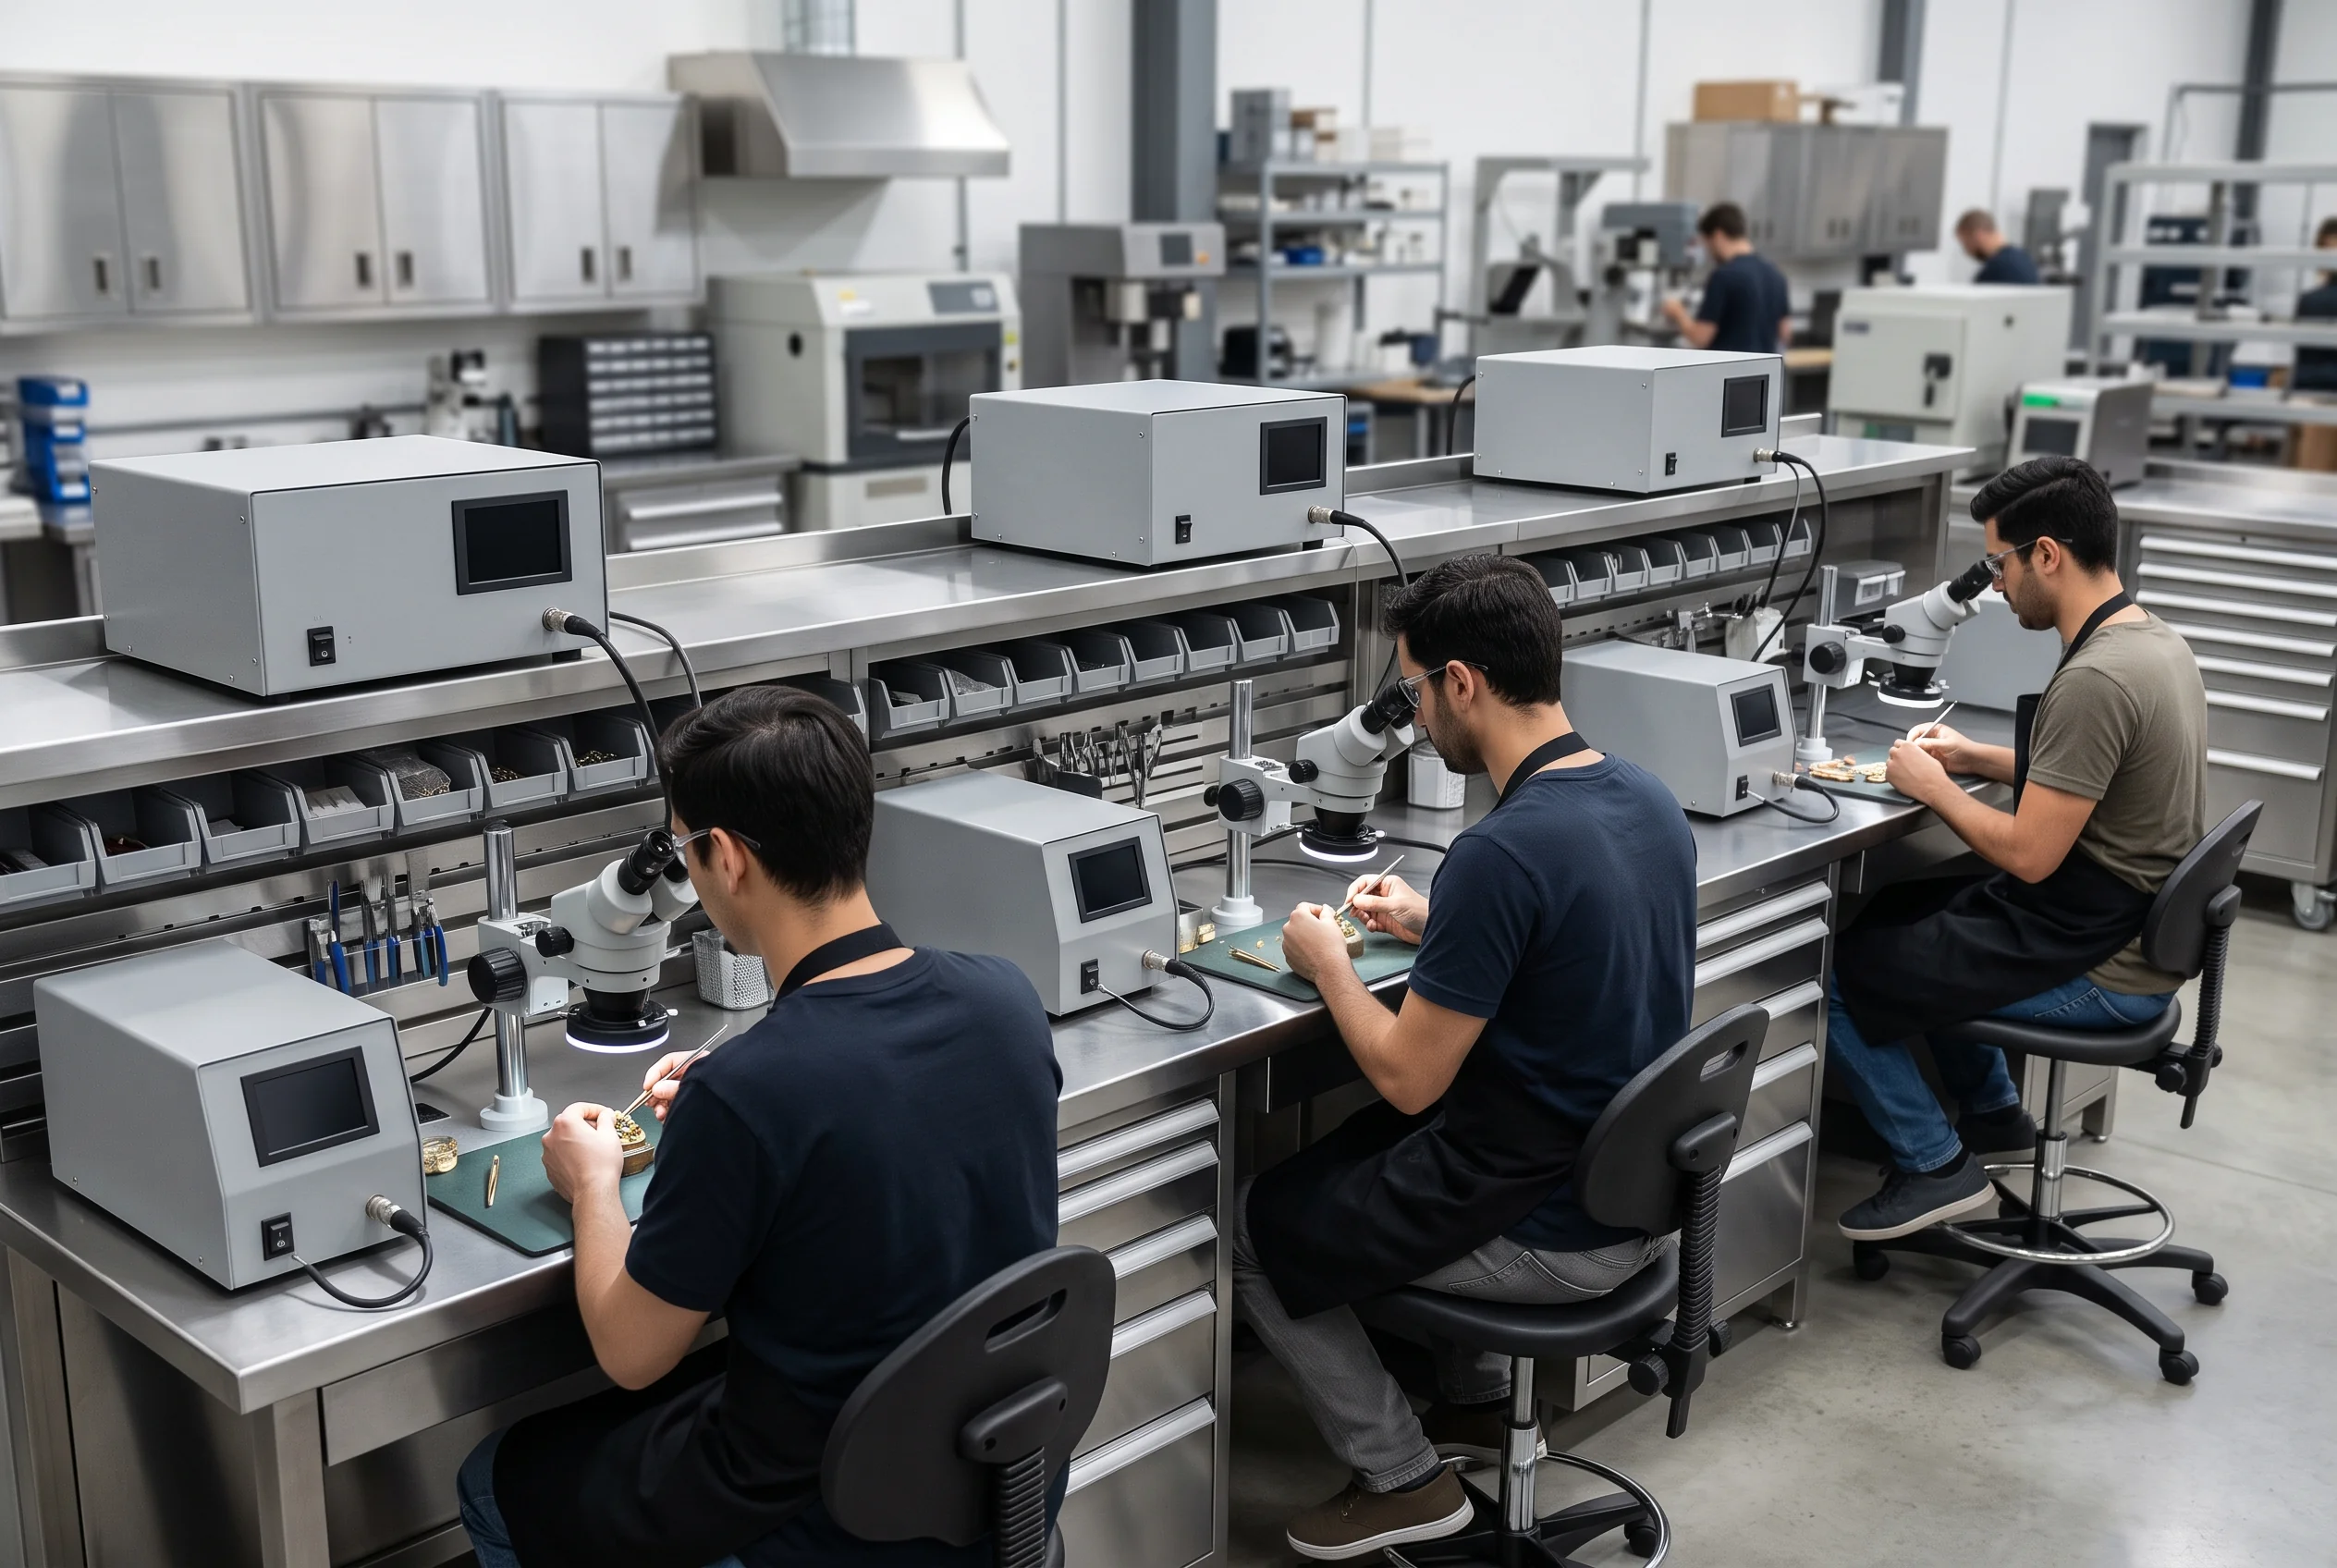
The questions that decide a purchase are rarely about the machine. They are: who teaches me to use it, what happens when I cannot get the parameters right, who do I ask when a weld fails or the machine alarms, and will anyone still help when I take on a material I have never welded. This page answers those.
Setup guidance on delivery
Parameter charts by alloy
Remote troubleshooting
Spare parts & consumables
Five stages, in the order they actually happen. Most benches are welding real work well before the end of it.
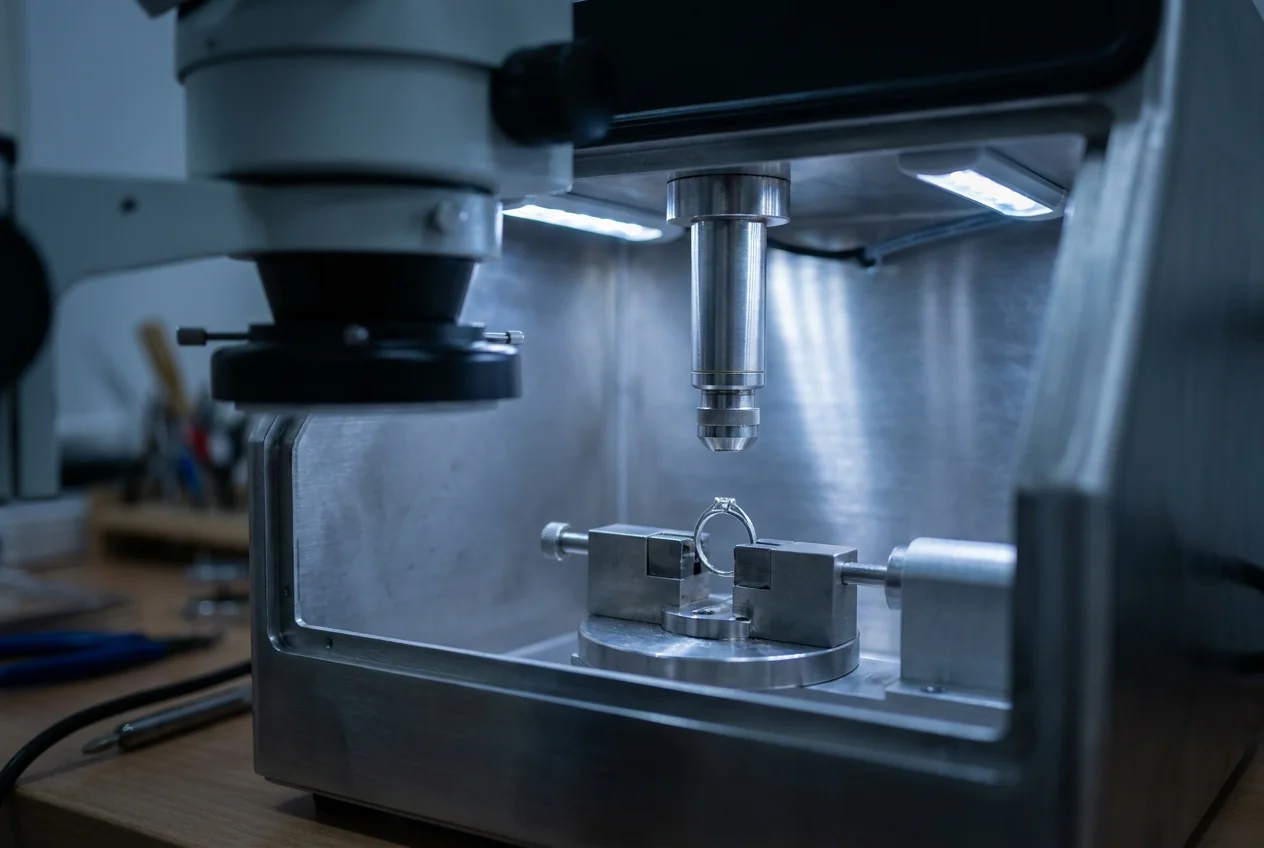
Unpack, power, water or air cooling, gas line, and the microscope or CCD aligned to the work plane. We walk this through with you rather than leaving it to the manual.
A scrap piece, a known-good starting parameter, and a look at what a correct pool actually looks like under magnification. This is the reference every later adjustment is judged against.
Your own jobs, not a syllabus: sizing, chain, prong, porosity, whichever of them your bench sees. The order follows your work, not ours.
Moving from a chart value to a stored setting that suits your alloys and your hand. This is where a bench stops guessing and starts recalling.
Photos, video calls and remote troubleshooting when a weld fails or a job is new. Support does not end when the training does.
Six areas. Operator training comes with the machine — this is what is in it.

Siting the machine, cooling and gas, eye safety and extraction,and the checks to run before the first pulse of a session.

Focus, magnification, crosshair alignment and how to tell a real focal point from a near one.Most early misses are aiming, not power.

What spot size, pulse width, energy and frequency each change at the joint,and which one to move first when a weld is wrong.

How gold, silver, platinum, palladium, titanium and stainless behave differently,and why a setting proven on one under-performs on another.

Sizing, chain, prong retipping, porosity and crack filling, stone-set work— worked through on the jobs your bench actually takes in.

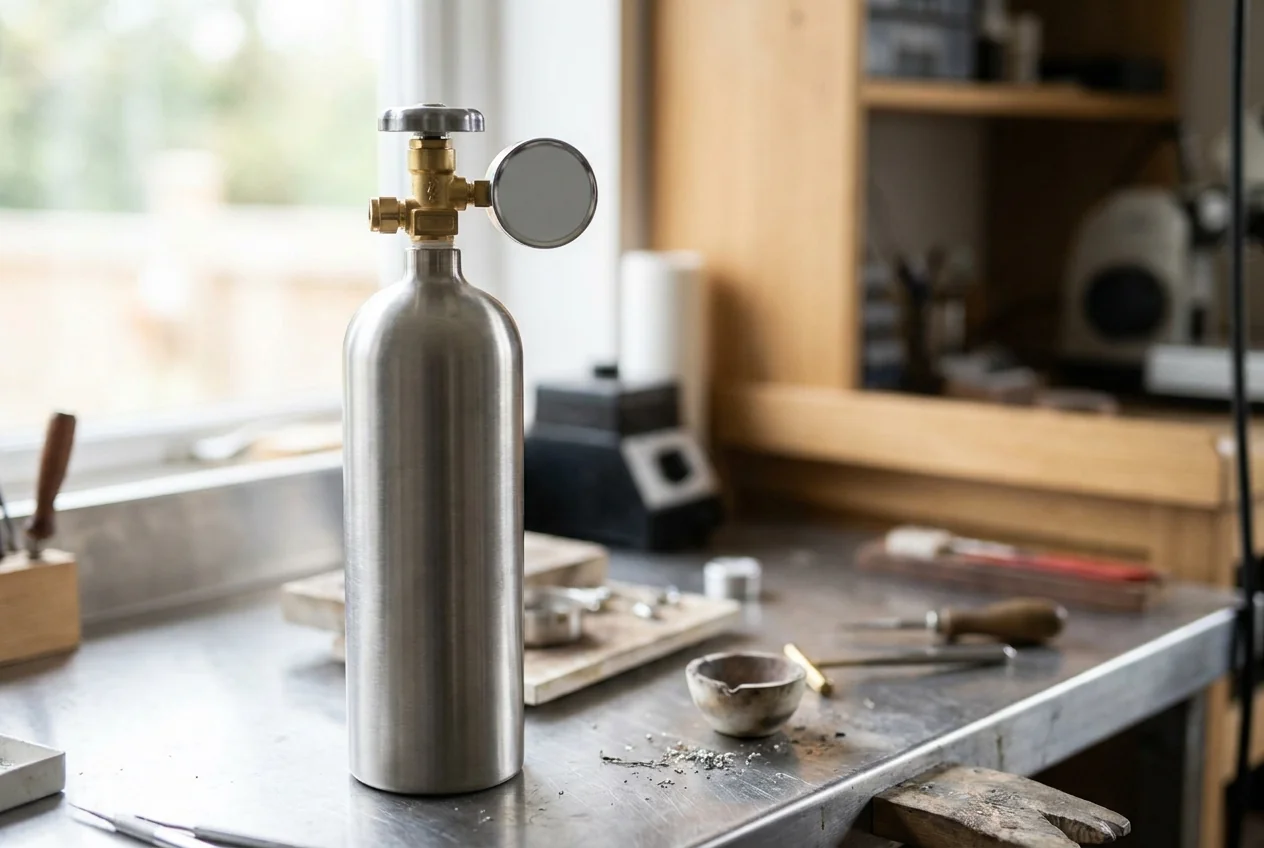
Protective lens changes, electrode dressing, gas and coolant checks,and the daily habits that keep a machine out of the fault log.
"I cannot get the settings right" is the most common call in the first month. This is the shape of the answer — which control to move first, and what to look for after you move it.

| Repair task | Move this first | What to watch after you change it |
|---|---|---|
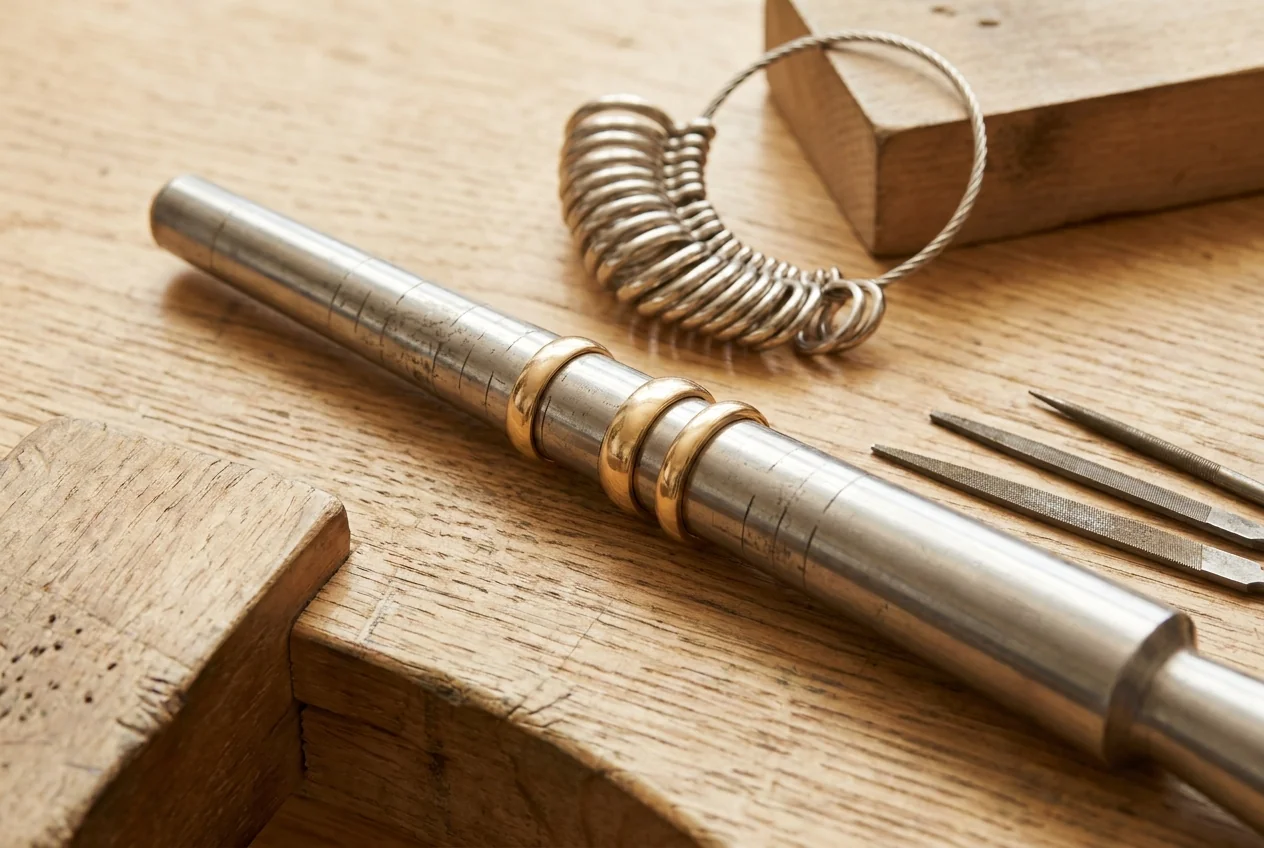
| Ring sizing | Energy & filler feed | A heavy section wants build-up rather than flow. If the seam sits proud, you laid too much down per pass rather than too little heat. |
| Fine chain | Spot size | If the neighbouring link fuses, the spot is wider than the gap. Tighten the spot before touching energy. |
| Prong retipping | Pulse width | A balled tip means too much energy in one pulse. A dent with no pool means too little for the metal — common on platinum. |
| Porosity filling | Repetition rate | Pits open as heat arrives. Fill in passes at a steady rate; a single heavy pulse enlarges the cavity rather than closing it. |
| Crack repair | Preparation, then energy | Open the crack out before welding. If it reappears beside the repair, the root was still there — no parameter fixes that. |
| Silver work | Surface prep & energy | A bright silver surface reflects most of the beam. Key or lightly oxidise the spot and the same setting starts coupling. |
| Stone-set work | Spot size & positioning | Assessment comes before parameters here. Stone type, treatment and distance from the joint decide whether it is a laser job at all. |
Parameter charts by alloy come with the machine, and stored presets mean a proven setting is recalled rather than re-found. The table above is the reasoning behind them, not a substitute for them.
Send a photo of the joint and what you set. These are the checks we work through with you, in this order.

Focal point first, then surface condition and energy. On silver and on any polished surface, reflection is the usual answer before power is.
Section thickness against spot size, then pulse width. The limit is usually the piece rather than the machine — we work out where that line sits for your work.
Whether the gas is coming from the casting or from poor shielding. The two look similar in a photograph and are fixed in opposite ways.
Gas flow, nozzle distance and the alloy itself. Sterling and cobalt-bearing platinum both discolour where shielding does not reach.
Send the code and a photo of the screen. Most first-year alarms are cooling, water level, interlock or gas pressure — we work through them on a call.
Whether the setting is stored or re-dialled, and whether both operators are focusing the same way. Consistency is usually a process fix, not a machine one.
Four routes, from a quick photo to someone watching your bench in real time. Which one you use depends on how quickly you need an answer and whether the problem is visible in a still image.
Send the joint and the settings you used. Most parameter questions are answered from a good macro photo and two numbers.
A video call with the machine in front of you, so the adjustment happens on your bench rather than in an email thread.
Fault codes, cooling, gas and interlocks worked through step by step — including which part to order if it comes to that.
A new alloy or a job you have not taken on before. Send it in and we will work out a starting parameter with you rather than leaving you to find it.

Included means it comes with the machine as standard. Optional means it exists and is quoted with your order — worth asking for in writing before you buy rather than assuming either way.
| What you get | Included | Optional |
|---|---|---|
| Operator training on your own applications | ||
| Parameter charts and starting values by alloy | ||
| Remote troubleshooting by photo, video or call | ||
| Manual, setup videos and troubleshooting checklist | ||
| Application support when you take on a new material | ||
| Spare parts and consumables supply | ||
| On-site installation and commissioning | Quoted per order | |
| On-site or in-person operator training | Quoted per order | |
| Additional operator sessions for a growing team | Quoted per order | |
| Extended warranty and priority response | Quoted per order |
Warranty length and any on-site service are set by configuration and confirmed on your quotation. Ask for them to be written into the order rather than taken from a web page.
One operator, a shop with a counter, or a production floor with shifts — the same content, arranged differently.
One person, mixed work, no one else to ask at the bench.
Two or three at the bench, counter work arriving unpredictably.
Shifts, batches, and consistency that has to survive staff changes.

What you can refer back to at two in the afternoon when nobody is on a call with you.
Setup, controls, safety and maintenance intervals for your specific model.
The steps you would rather watch once than read three times — including lens changes.
Starting values by alloy and by job, meant to be adjusted from rather than obeyed.
The order to check things in when a weld fails or the machine alarms, before you call.

A jewelry laser welder is a machine with consumables. Knowing which parts wear, and how quickly you can get them, is part of the buying decision rather than an afterthought.
They need different answers, and mixing them is how a shop ends up with a machine that does not fit.
The worries that actually hold up a purchase.
Whether you already own a machine or are still deciding. Tell us what you are stuck on and we will come back with an answer, not a brochure.