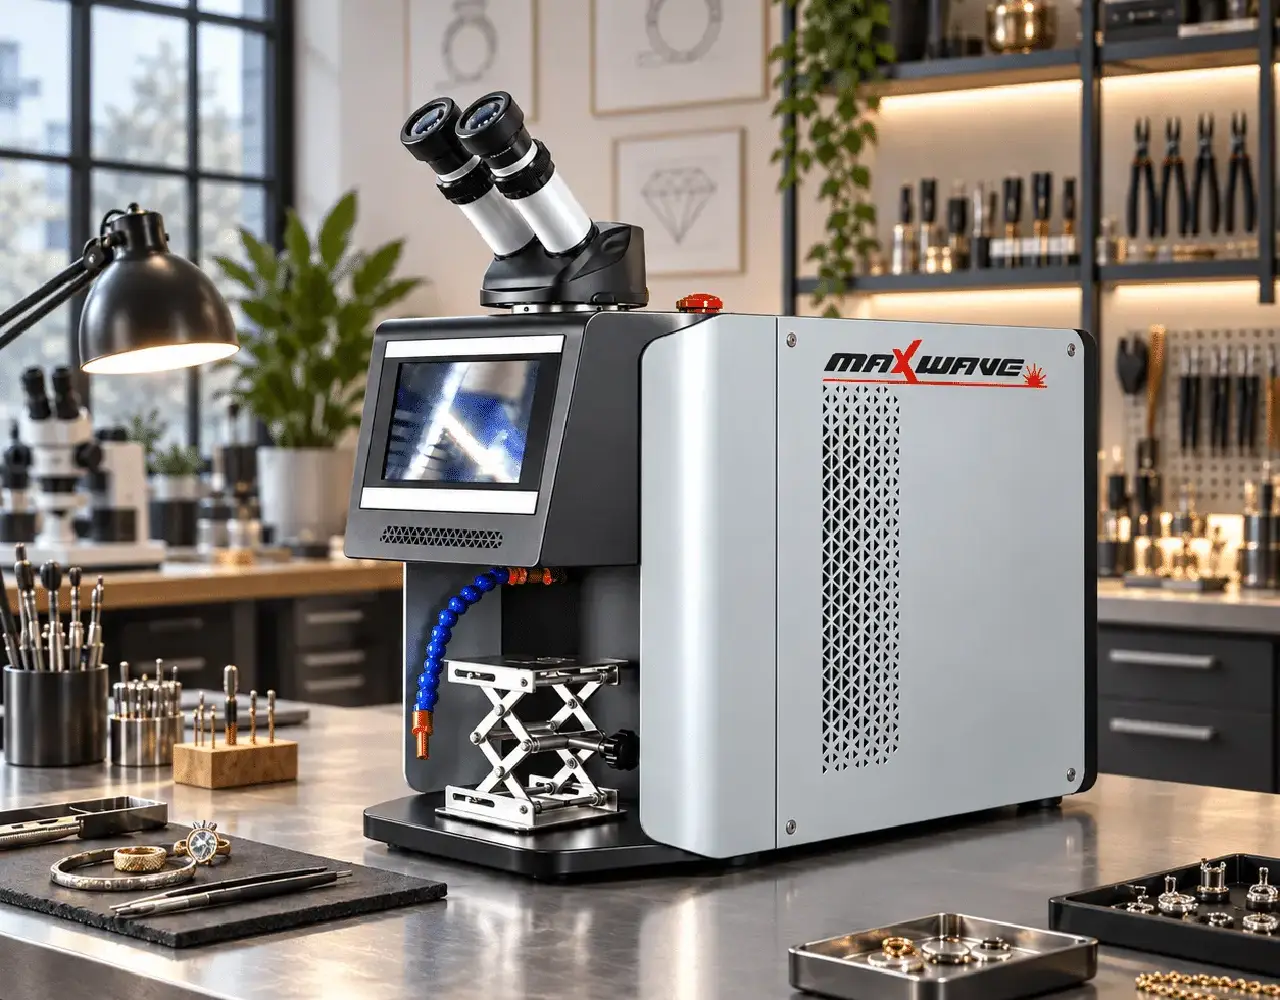
A jewelry laser welder lets you make small, localized welds on rings, chains, prongs, settings and other jewelry parts without heating the entire piece.
But getting a clean weld is not simply a matter of placing the jewelry under the microscope and pressing the foot pedal.
For a beginner, the correct workflow is:
Check the machine → Prepare the jewelry → Focus the weld → Test the settings → Tack the joint → Build the weld → Inspect and finish
The most important rule is simple:
Do not learn your settings on a customer's jewelry.
Use scrap or a representative sample first, understand how the main parameters affect the weld pool, and change only one variable at a time.
A good jewelry laser welder gives you control over pulse energy, pulse width, spot size and repetition rate so you can adjust the weld to different metals and repair types.
Control | What It Mainly Changes | Beginner Approach |
|---|---|---|
Energy / Power | Weld intensity and penetration | Start lower and increase gradually |
Pulse Width | How long heat enters the metal | Keep controlled on thin parts |
Spot Size | Energy concentration and weld width | Match it to the repair area |
Frequency | How quickly pulses repeat | Avoid excessive heat buildup |
Focus | Energy delivered at the joint | Confirm before every repair |
1. Before You Start the Jewelry Laser Welder
Before working on any jewelry, make sure the machine and work area are ready.
Beginners often focus entirely on welding parameters, but poor setup can create problems before the first pulse is fired.
Check the Work Area and Machine
Follow the safety instructions and startup procedure supplied with your specific machine.
Jewelry laser welders use high-energy laser radiation, so never bypass safety interlocks or view the beam through anything other than the approved viewing system.
Before welding, confirm five things:
Power, cooling and cables are operating normally.
Microscope and protective optics are clean.
Emergency stop and safety systems work.
The work area is clean and free of unnecessary reflective objects.
Shielding gas is connected if the repair requires it.
If the machine displays a fault or cooling warning, resolve it before trying to fire the laser.
Do not repeatedly reset an unknown alarm and continue welding.
Understand the Four Main Settings
Before changing anything, understand what the controls actually do.
Energy or Power
This determines how much laser energy reaches the weld area.
Too little can produce shallow fusion.
Too much can cause spatter, cratering, burn-through or unnecessary heat.
The beginner's mistake is usually increasing power too aggressively instead of correcting the complete setup.
Pulse Width
Pulse width controls how long each pulse delivers energy.
Longer pulses usually put more heat into the material.
That can help when deeper fusion is needed, but may also increase the heat-affected area.
Spot Size
A smaller spot concentrates the laser energy into a smaller area.
A larger spot spreads the energy more broadly.
That means changing spot size can significantly change the weld even when your displayed energy setting stays the same.
Frequency
Frequency controls how often pulses are fired.
Higher frequency can help build a weld more quickly, but repeated pulses in the same area can also cause cumulative heating.
For a beginner, controlled pacing is more important than maximum welding speed.
2. Prepare and Focus the Jewelry
Most clean laser welds begin with good preparation.
A laser welder for jewelry cannot compensate for oil, polishing compound, a large joint gap or incorrect focus.
Clean and Inspect the Repair
Clean the repair area before welding.
Remove oil, polishing compound, dirt, oxide and any residue around the joint using a cleaning method appropriate for the metal and gemstones.
Then inspect the piece under magnification.
Look for:
Existing cracks
Casting porosity
Old solder
Loose stones
Worn or damaged metal
This is particularly important on previously repaired jewelry.
If defective material already exists around the joint, welding directly over it may trap the problem inside the new weld.
Remove compromised material first when necessary.
Fit the Joint Properly
Bring the two surfaces as close together as practical.
A large gap requires more filler and more heat to close.
That makes the repair harder to control.
For ring resizing, chain repair or a broken component, stabilize the workpiece so the joint cannot move when you press the pedal.
Good fit-up usually means:
Less filler + less energy + less finishing afterward.
Position and Focus the Joint
Move the jewelry into the viewing area and make sure the repair zone is sharp under the microscope.
Then align the aiming point with the exact position you want to weld.
Correct focus matters because laser energy changes dramatically when the workpiece moves away from the intended focal position.
Before firing, confirm:
Joint is visible → aiming point is correct → workpiece is stable → focus is sharp
Do not adjust the jewelry while firing the laser.
Check Nearby Stones
Laser welding produces much more localized heat than broad torch heating, which is one reason jewelers use it for repairs near stone settings.
But localized heat does not mean every gemstone is automatically safe.
Consider the stone type, its distance from the weld and whether it has existing fractures or treatments.
If you are uncertain about a valuable or heat-sensitive stone, protect or remove it rather than treating laser welding as risk-free.

3. Set the Laser Without Guessing
There is no single universal parameter table for gold, silver and platinum.
A setting that works on one jewelry laser welding machine may not transfer directly to another because the laser source, peak power, beam characteristics and control scale may differ.
The safer approach is to understand the direction in which each metal normally pushes the setup.
Start With a Scrap Test
Use scrap that is as close as possible to the actual repair.
Match:
Metal → Alloy → Thickness → Joint type
Then make one or two test pulses.
Inspect the result under magnification.
A useful test should answer:
Did the metal fuse cleanly?
Is penetration sufficient?
Is there excessive spatter or cratering?
Is there cracking or porosity?
Is discoloration excessive?
Do not move to the customer's jewelry until the response is predictable.
Adjust One Setting at a Time
Suppose your test weld is too shallow.
Do not simultaneously increase power, pulse width and frequency.
If the next weld improves, you will not know which change caused it.
A better adjustment sequence is:
Focus → Spot size → Pulse width → Energy → Frequency
The exact order can vary by machine and repair, but the principle remains the same:
Change one major variable and inspect the result.
Use Metal-Specific Starting Logic
Different jewelry metals behave differently under the laser.
Metal | Typical Welding Behavior | Beginner Direction |
|---|---|---|
Gold | Generally controllable | Start moderate and refine |
White gold | Alloy-sensitive | Watch cracking and discoloration |
Silver | Highly reflective and heat conductive | May require more delivered energy |
Platinum | Different thermal behavior from gold | Build the pool gradually |
These are directions, not fixed settings.
A thin 18K chain link and a thick 18K ring shank should not use the same parameters simply because both are gold.
Thickness and joint geometry matter just as much as alloy name.
Do Not Chase Penetration With Power Alone
If the weld is not penetrating deeply enough, increasing energy is only one option.
First confirm:
Focus.
Joint fit.
Spot size.
Pulse width.
Then make small energy changes.
Jumping directly to a much higher power level can create a crater on the surface while leaving poor fusion deeper in the joint.
The goal is not the biggest weld pool.
It is the smallest controlled weld that produces adequate fusion.
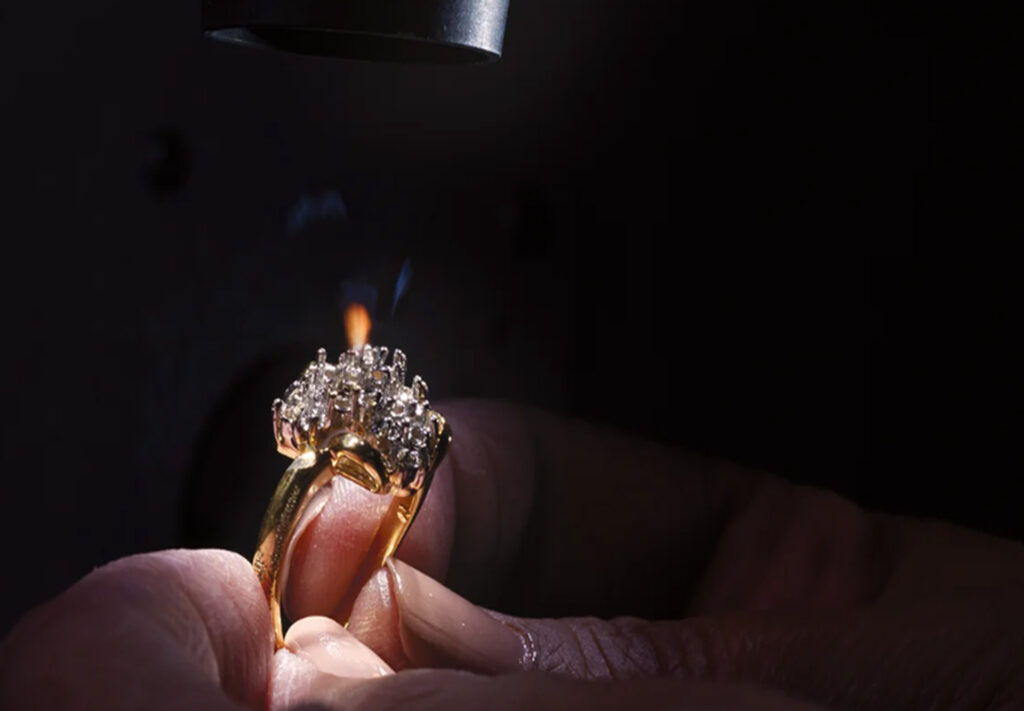
4. Weld the Jewelry Step by Step
Once the test settings are stable, move to the actual repair.
The basic process is similar whether you are resizing a ring, repairing a chain or rebuilding a small setting.
Step 1: Tack the Joint First
Do not immediately weld the entire seam.
Place a few small tack welds to hold the pieces in position.
Then inspect the alignment again.
The tack weld should stabilize the joint without introducing unnecessary heat.
If the pieces move or the gap changes, correct the setup before building the final weld.
Step 2: Add Filler When Needed
Some repairs can be fused directly.
Others need filler wire to rebuild missing metal, fill a groove or strengthen a repaired section.
Use filler compatible with the jewelry alloy and color whenever possible.
Feed small amounts into the weld pool instead of trying to fill a deep gap in one pulse.
For a laser welder for jewelry repair, controlled filler placement is particularly important for prong rebuilding, ring sizing and crack repair.
Step 3: Build the Seam Gradually
Think of a laser-welded seam as a series of small overlapping weld spots.
Each new pulse should connect cleanly with the previous area.
Do not try to finish a deep repair with one aggressive pulse.
Instead:
Tack → Fill → Build → Blend
This keeps heat more localized and gives you more opportunities to inspect the joint before a small problem becomes a large one.
Step 4: Inspect Before Adding More Heat
Stop periodically and look at the weld through the microscope.
Watch for:
Cracks
Porosity
Undercut
Burn-through
Incomplete fusion
If you find a defect, identify the cause before firing more pulses.
For example, visible pits may point to contamination or an unstable weld pool.
A crack beside the weld may indicate a material problem rather than simply insufficient power.
The correct response is diagnosis—not automatically adding energy.
Step 5: Finish and Record the Repair
Once the weld is structurally sound, allow the piece to cool and inspect it again.
Then complete the appropriate finishing process.
This may include filing, sanding, polishing, texturing or restoring a surface finish.
White gold may also require rhodium finishing after the structural repair is complete.
Before releasing the piece, confirm the repaired area blends with the original shape and that stones, prongs, clasps or moving components still function correctly.
Keep a Simple Welding Log
Beginners improve much faster when they record what works.
You do not need a complicated database.
For every successful repair, record five things:
Metal and alloy
Repair type and thickness
Energy and pulse width
Spot size and frequency
Final weld result
After enough repairs, this becomes your own machine-specific parameter library.
That is much more useful than copying a universal jewelry welding chart from another machine.
You may eventually have separate working recipes for:
14K ring sizing
18K prong repair
925 silver chain repair
Platinum filling
Each recipe comes from your actual machine and real bench work.
Conclusion
How do you use a jewelry laser welder?
For a beginner, the most reliable process is:
Check → Clean → Position → Focus → Test → Tack → Build → Inspect → Finish
You do not need to memorize dozens of parameter combinations on your first day.
You need to understand what energy, pulse width, spot size and frequency do—and develop settings gradually on representative scrap before touching valuable jewelry.
The biggest beginner mistakes usually come from skipping preparation, using the wrong focus or trying to solve every welding problem by increasing power.
A professional jewelry welder should give you enough control and visibility to make small adjustments and inspect the weld as you work.
If you are choosing your first jewelry laser welder, do not ask the supplier only:
“How many watts is it?”
Ask them to demonstrate the complete beginner workflow using the jewelry you actually expect to repair:
Ring sizing, chain repair, prong rebuilding, gap filling or crack repair.
Send JewelryWelderPro your typical metals, jewelry types and repair jobs. The team can help you choose a machine configuration and show how the welding workflow fits the work you plan to do at your bench.